- iFi GO bar & GO bar Kensei MagSafe Battery DIY 3
- Enhance your iFi GO bar and Kensei with optional OTG adapters and MagSafe battery; video instructions available.
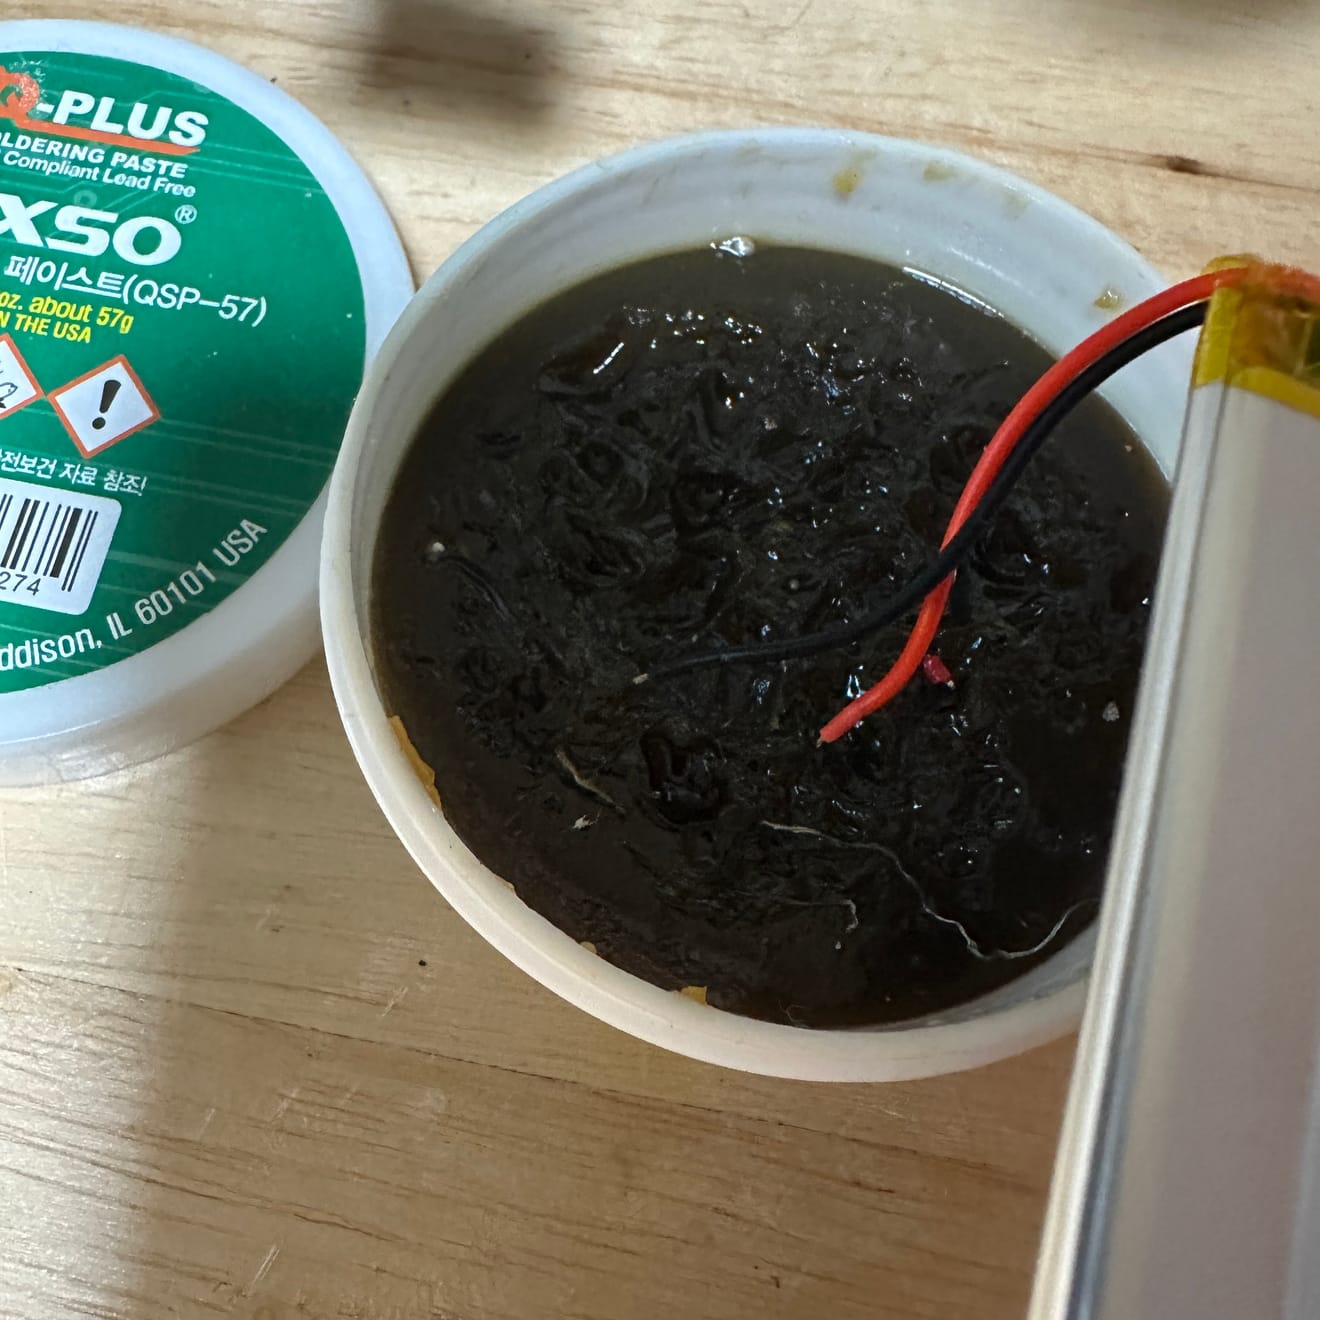
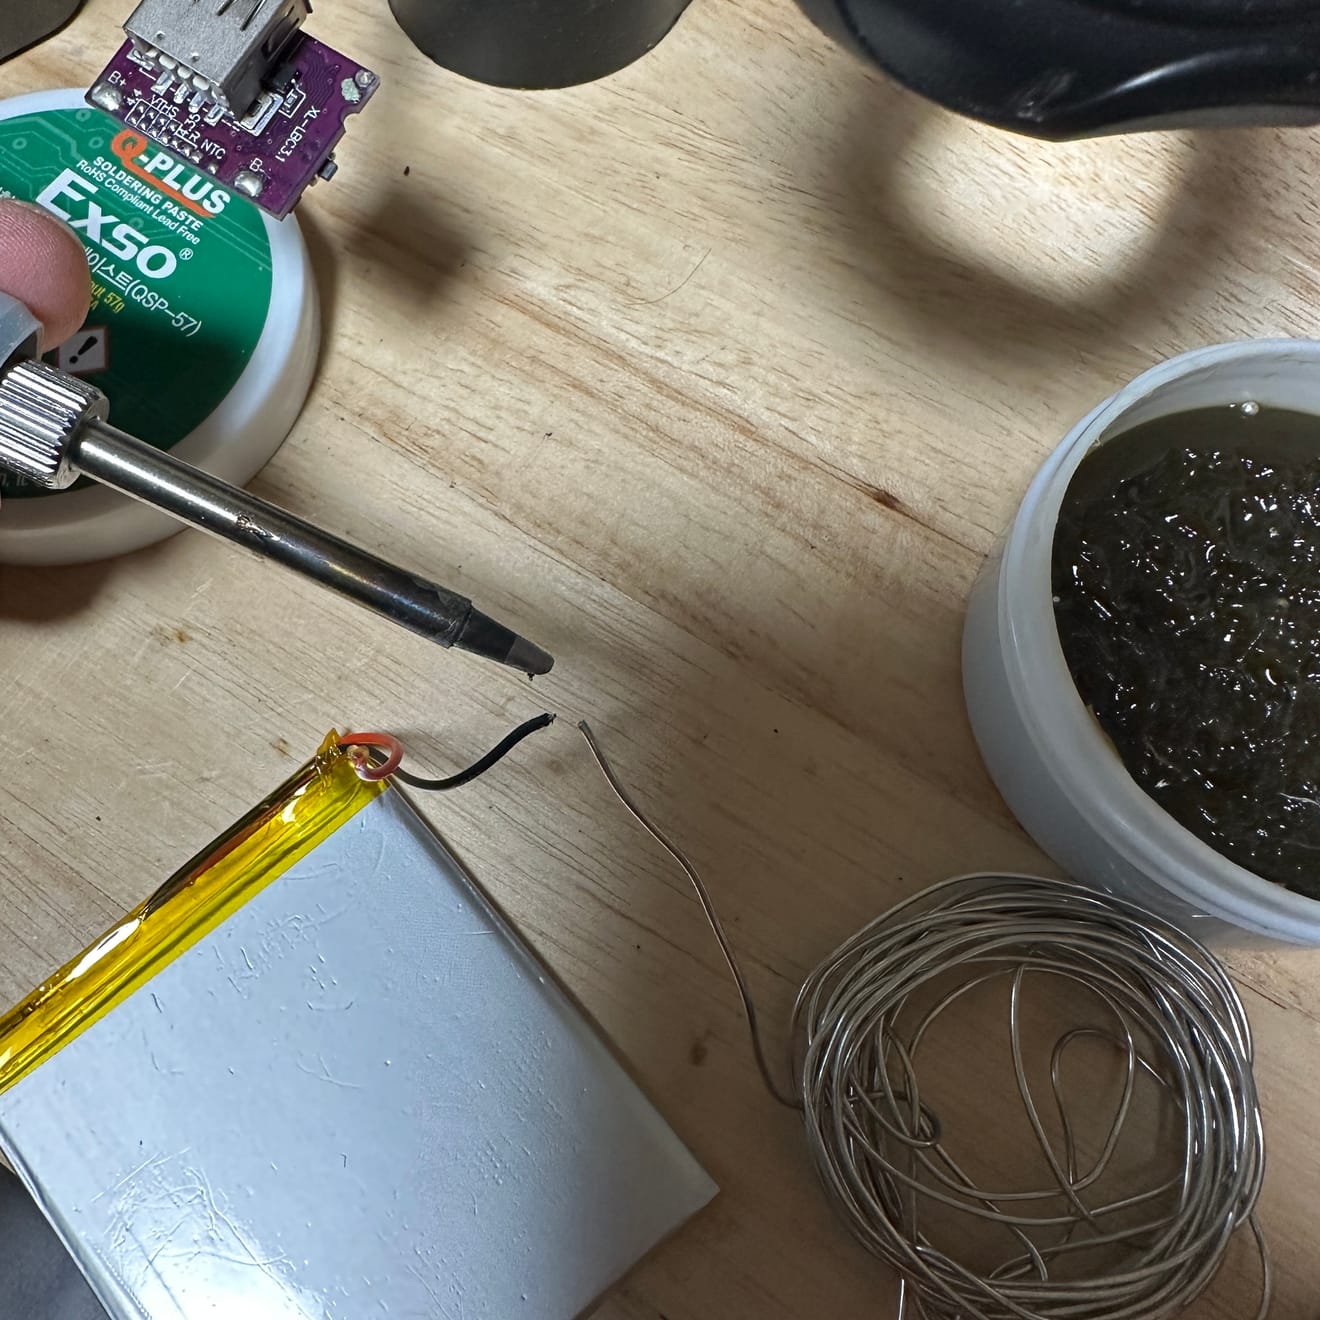
4️⃣ Pre-Tinning the Wires
To make soldering easier, apply a small amount of solder to the exposed wire ends.
For better adhesion, apply soldering flux before melting the solder.
⚠️ Caution:
Do not leave the soldering iron on the wires for too long, or the insulation may melt.
Use a high-temperature (350–400°C) soldering iron to complete the task quickly.
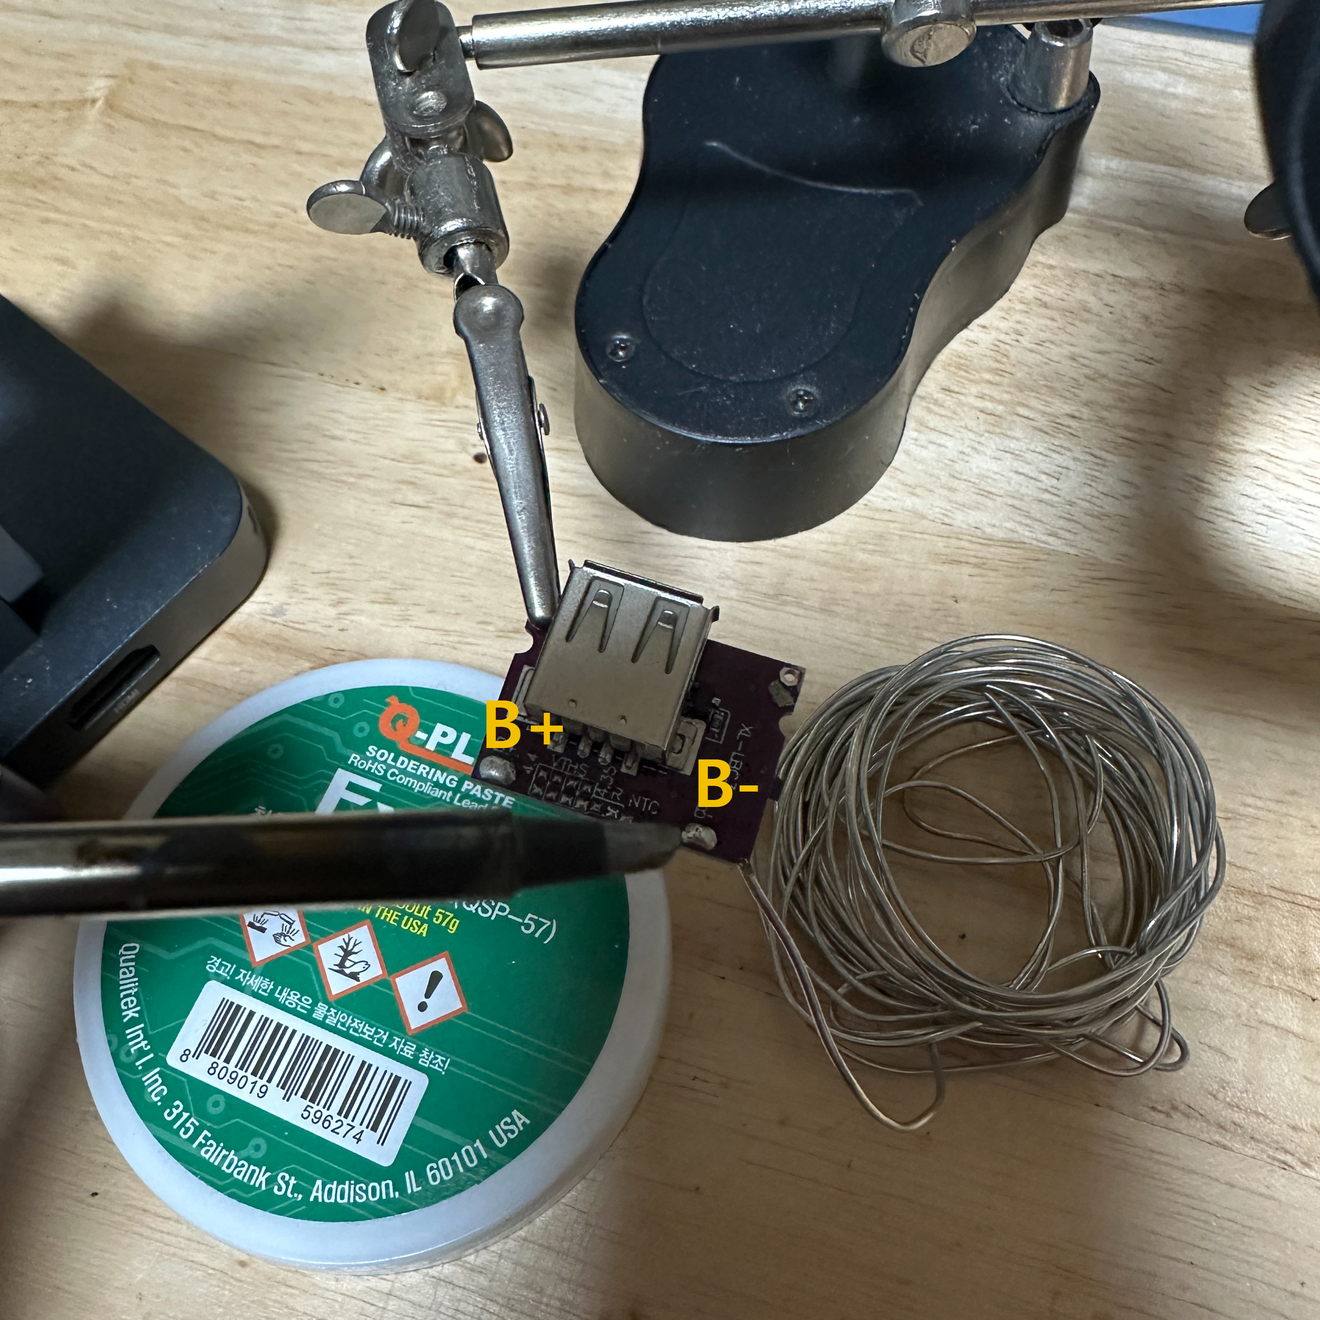
5️⃣ Preparing the Module Terminals
Pre-tin the B+ / B- terminals where the battery will be connected.
Applying a small amount of flux or soldering paste beforehand ensures better solder adhesion.
💡 Tip:
Since you need to hold both the soldering iron and the solder, using a PCB holder makes the process much easier.
Avoid applying too much solder.
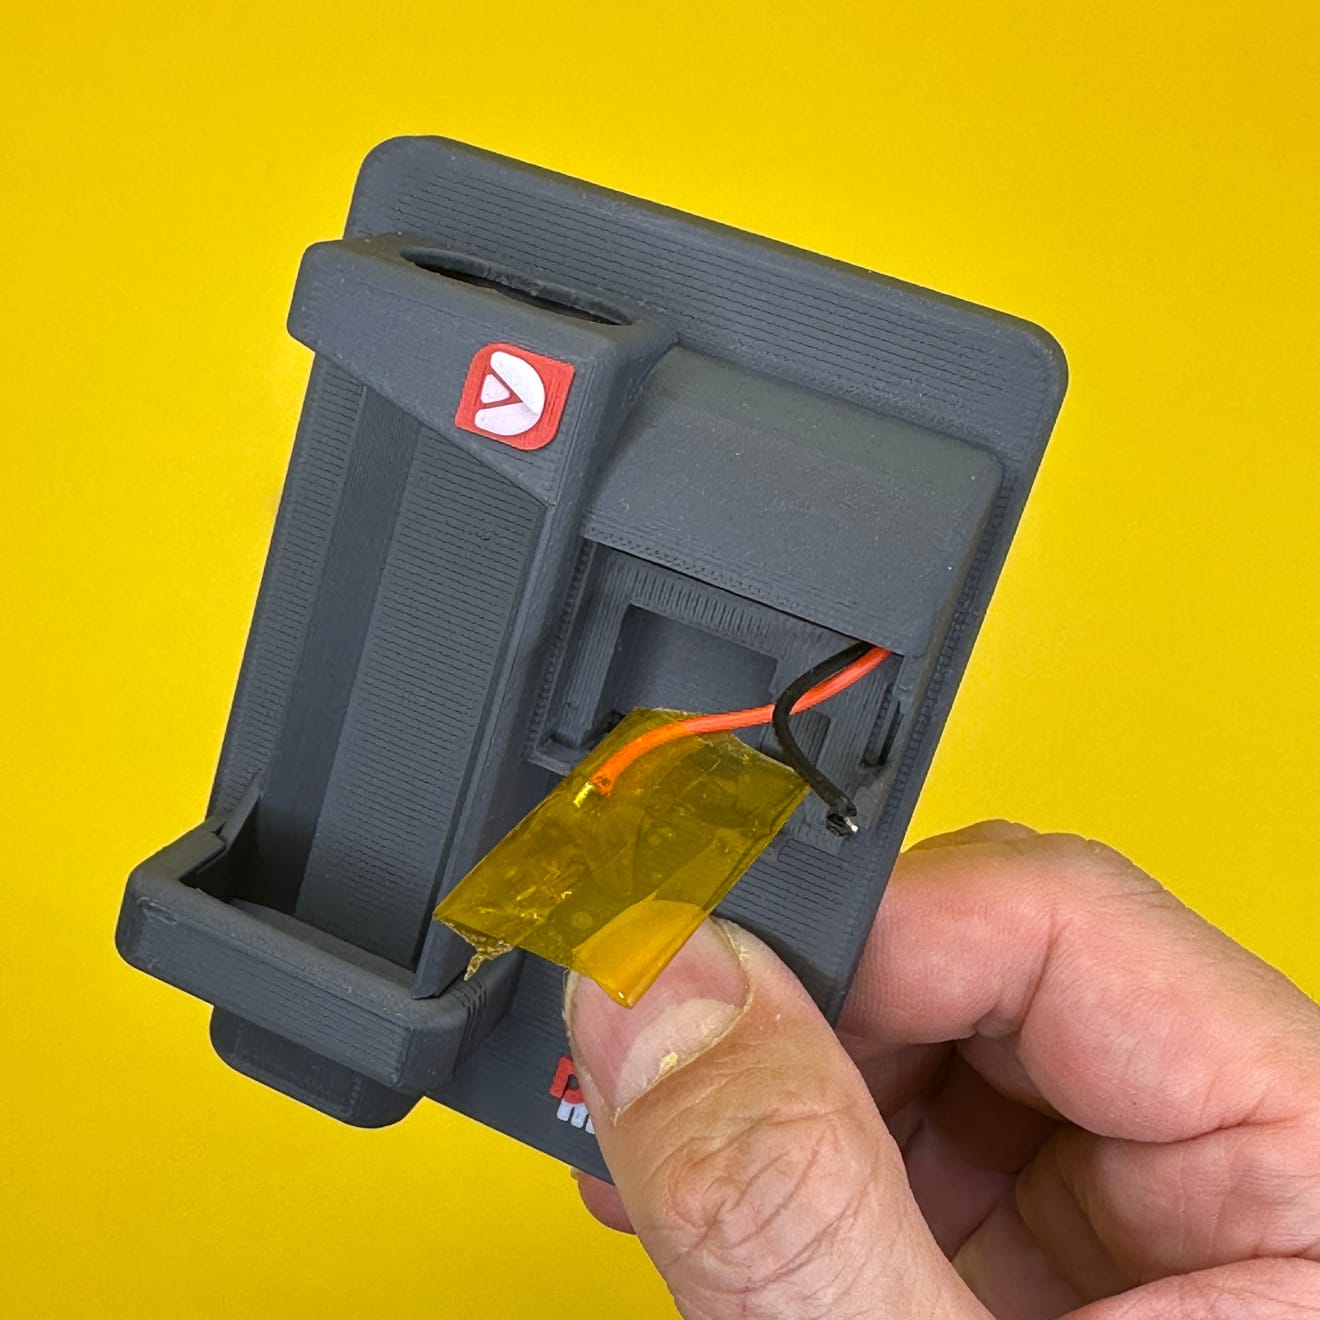
6️⃣ Arranging the Wires Inside the Case
Place the wires inside the MagSafe case, ensuring they are directed towards the left side.
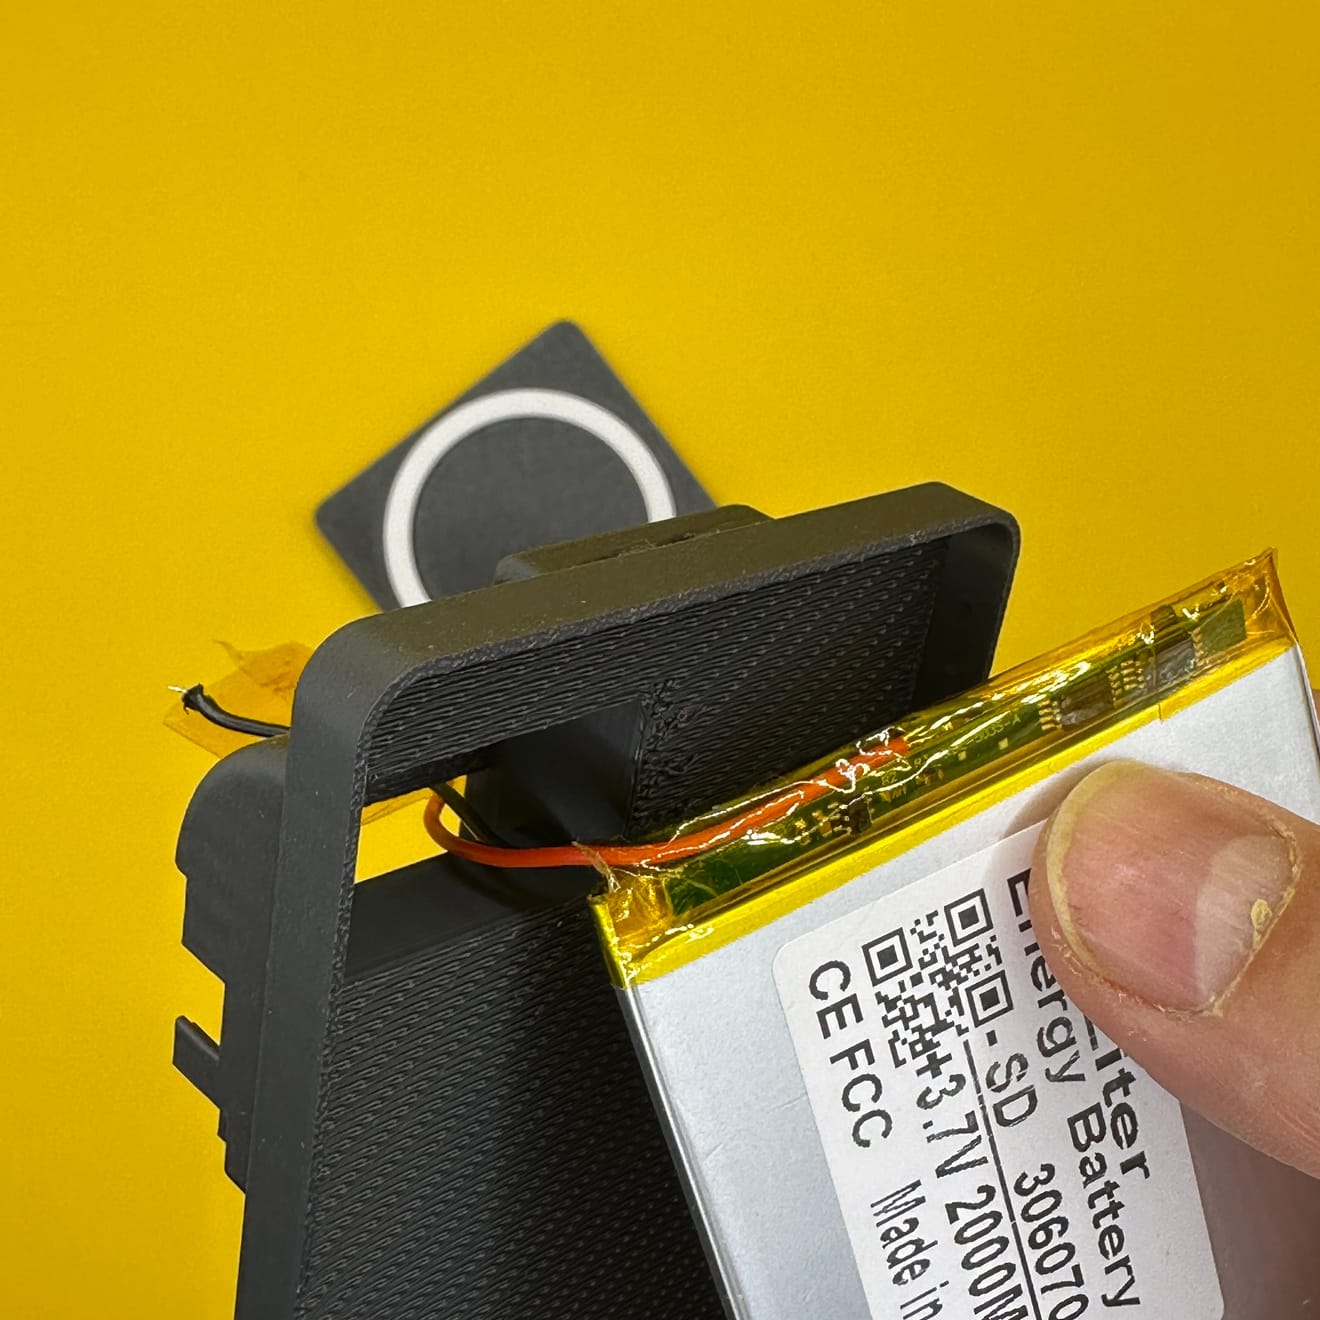
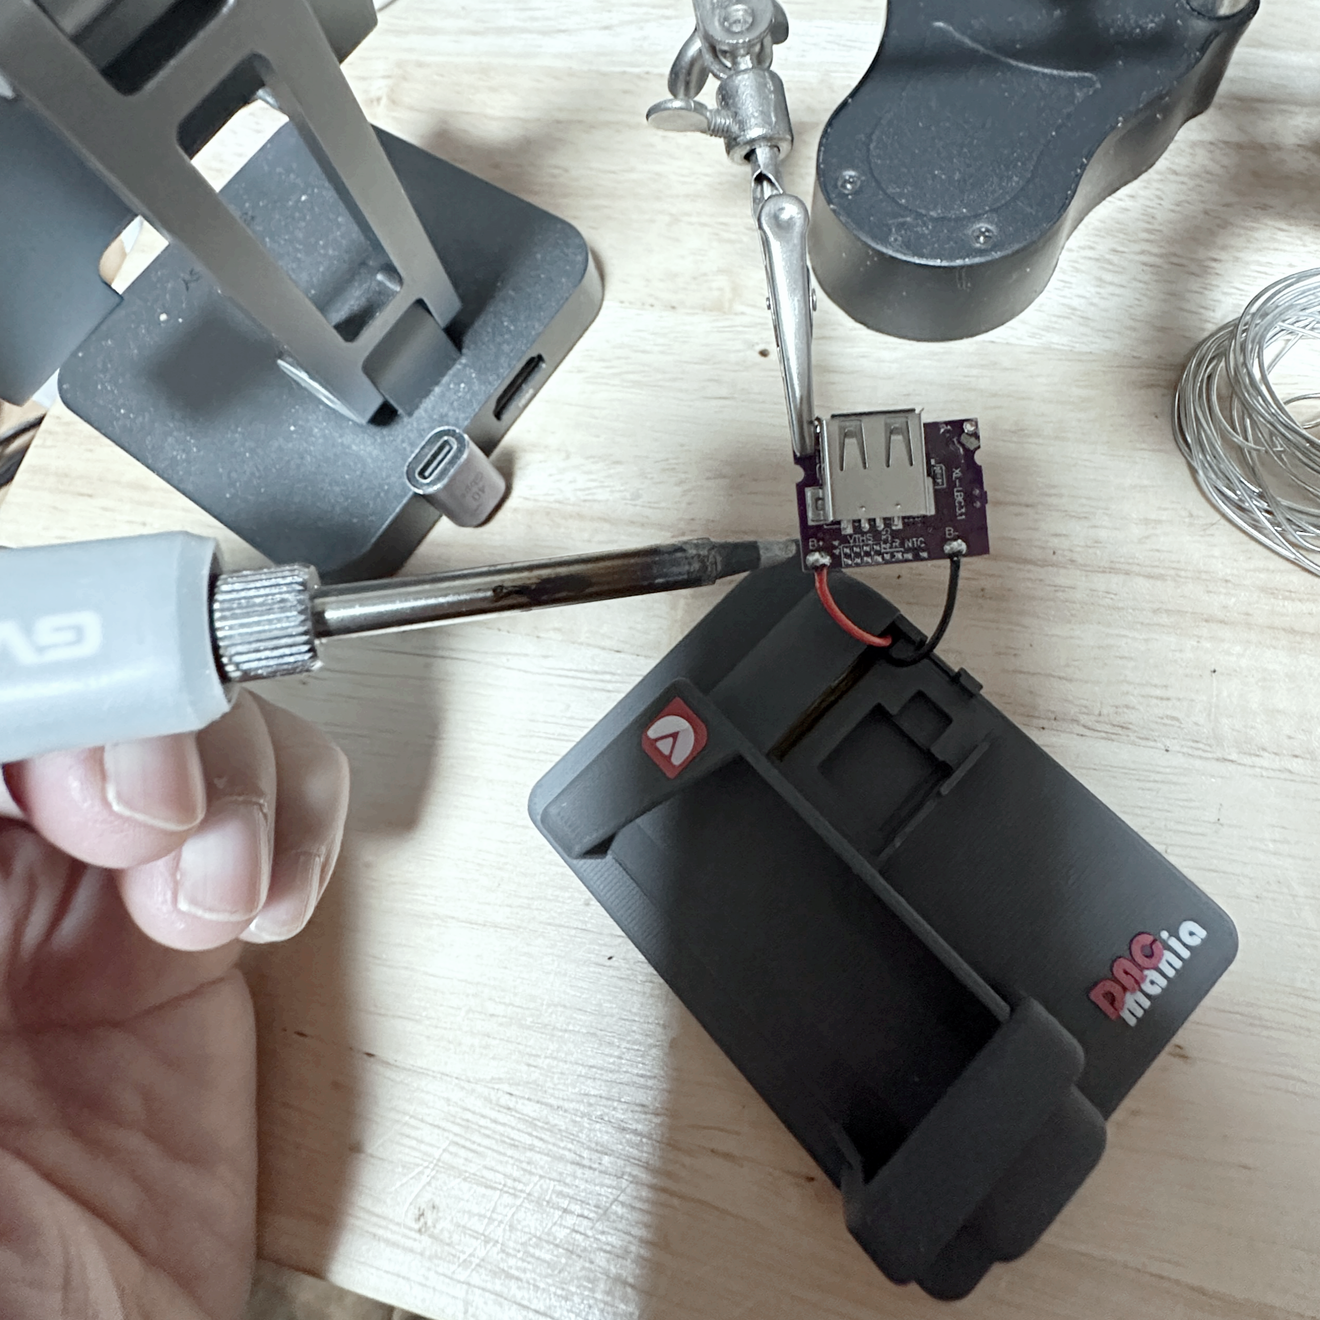
7️⃣ Soldering the Wires (Most Difficult Step)
The case is heat-sensitive, so be careful while soldering.
Solder the red wire (+) and black wire (-) to the respective terminals without reversing polarity.
⚠️ Tip:
It is recommended to solder the black wire (-) (GND) first.
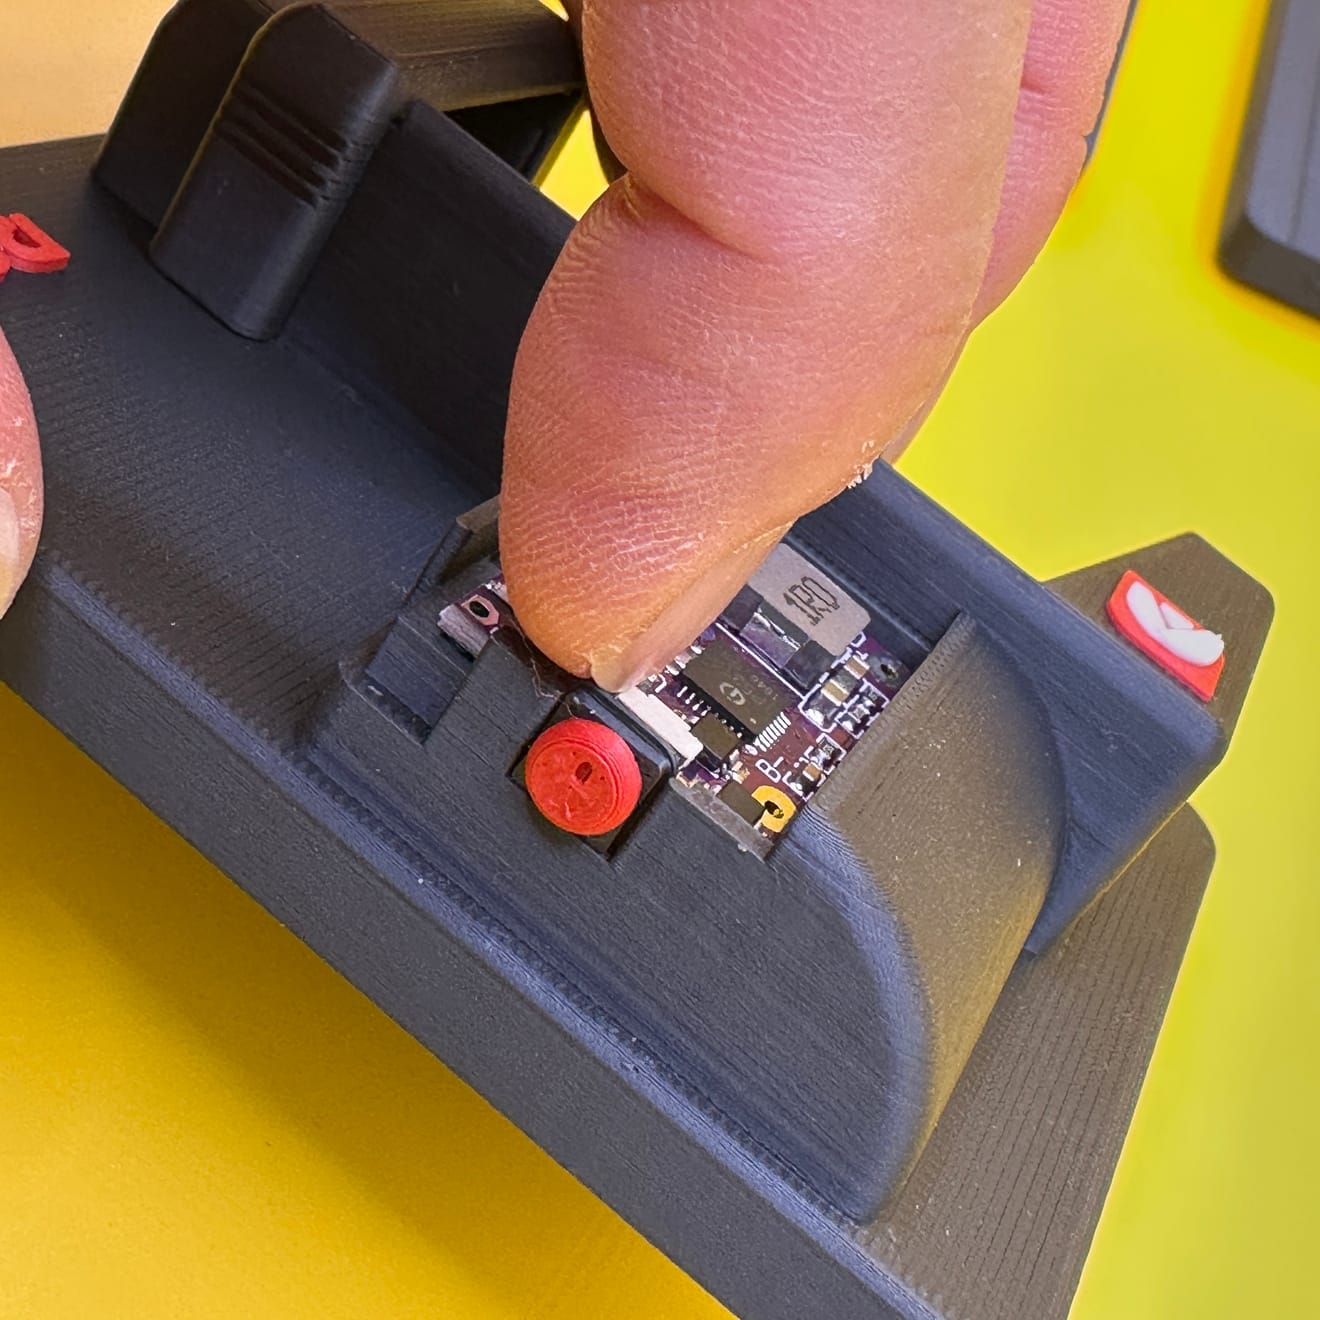
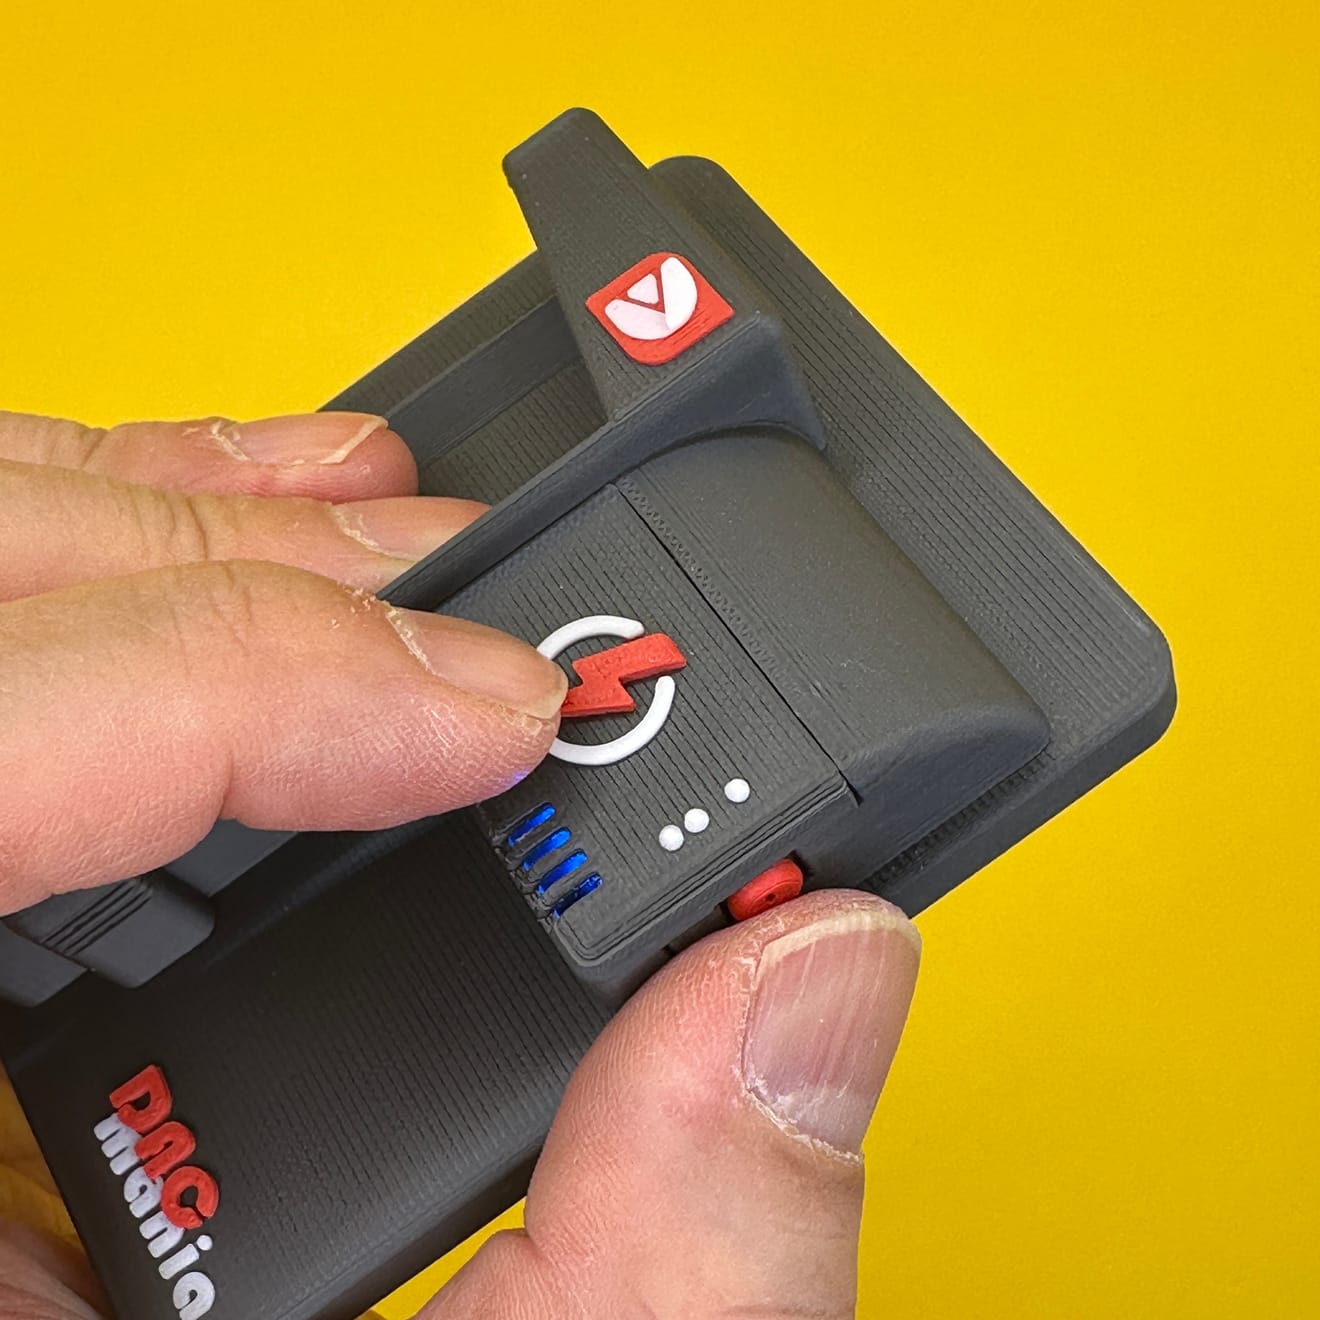
8️⃣ Testing After Soldering
Press the side button on the charging/discharging module to check if the battery functions properly.
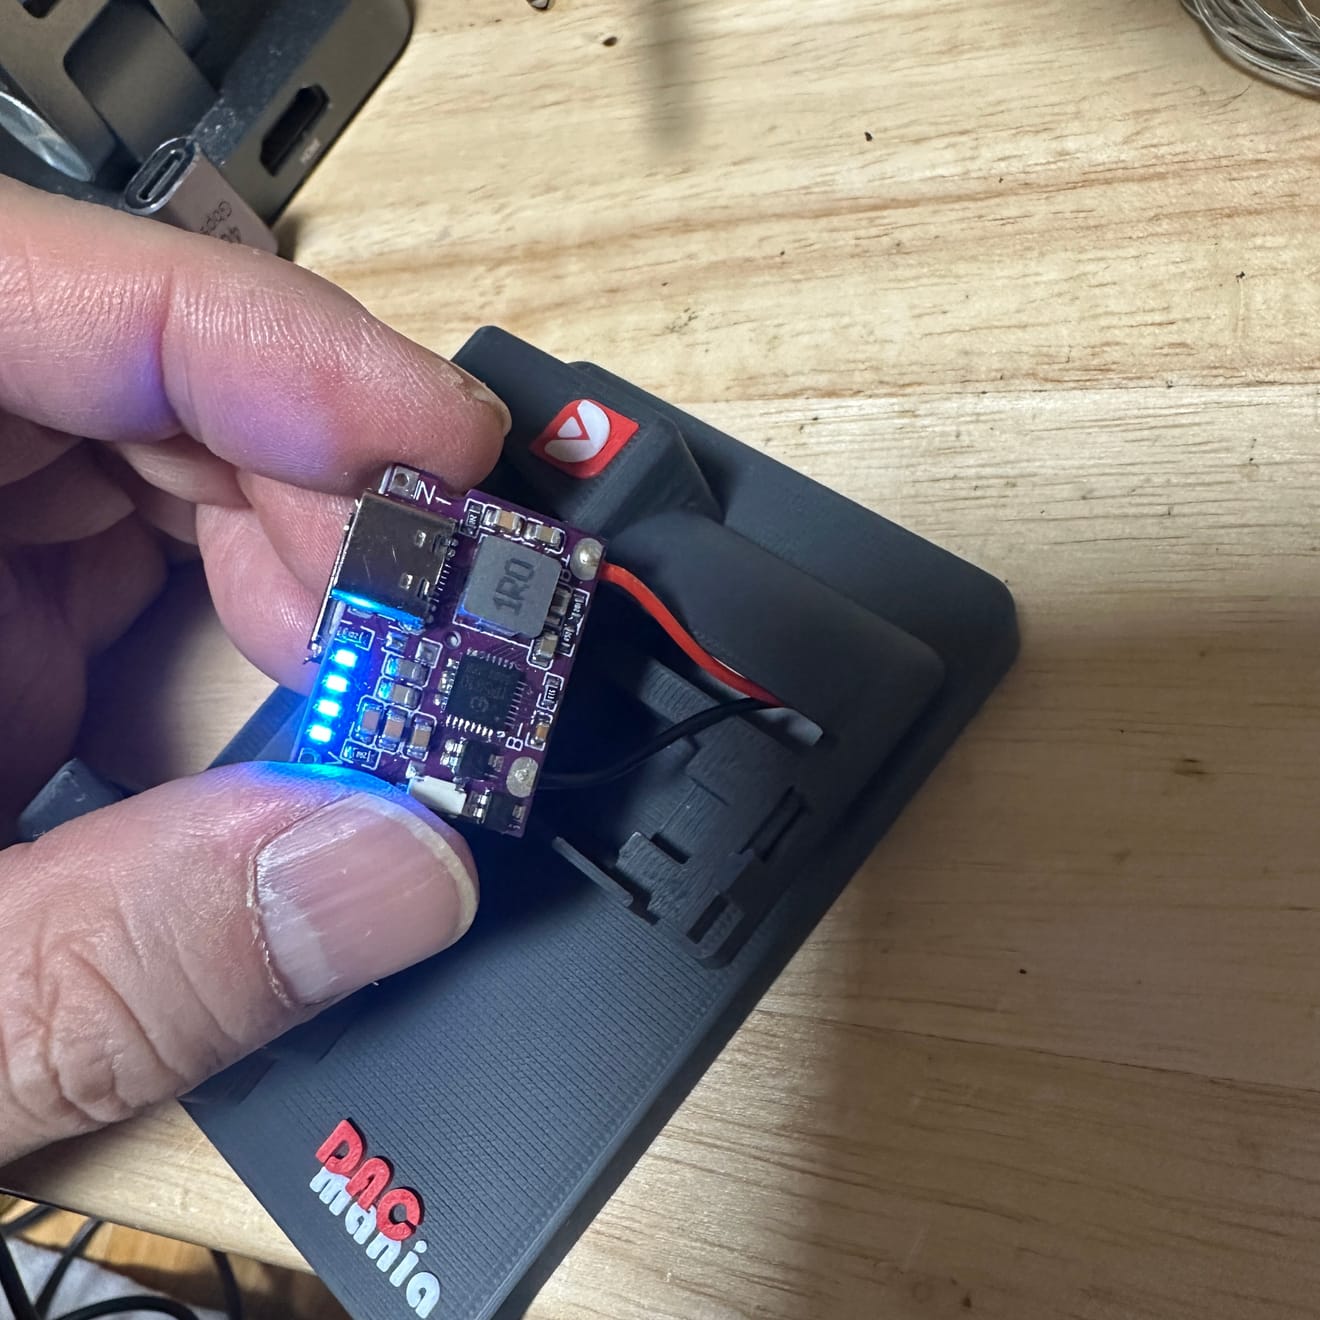
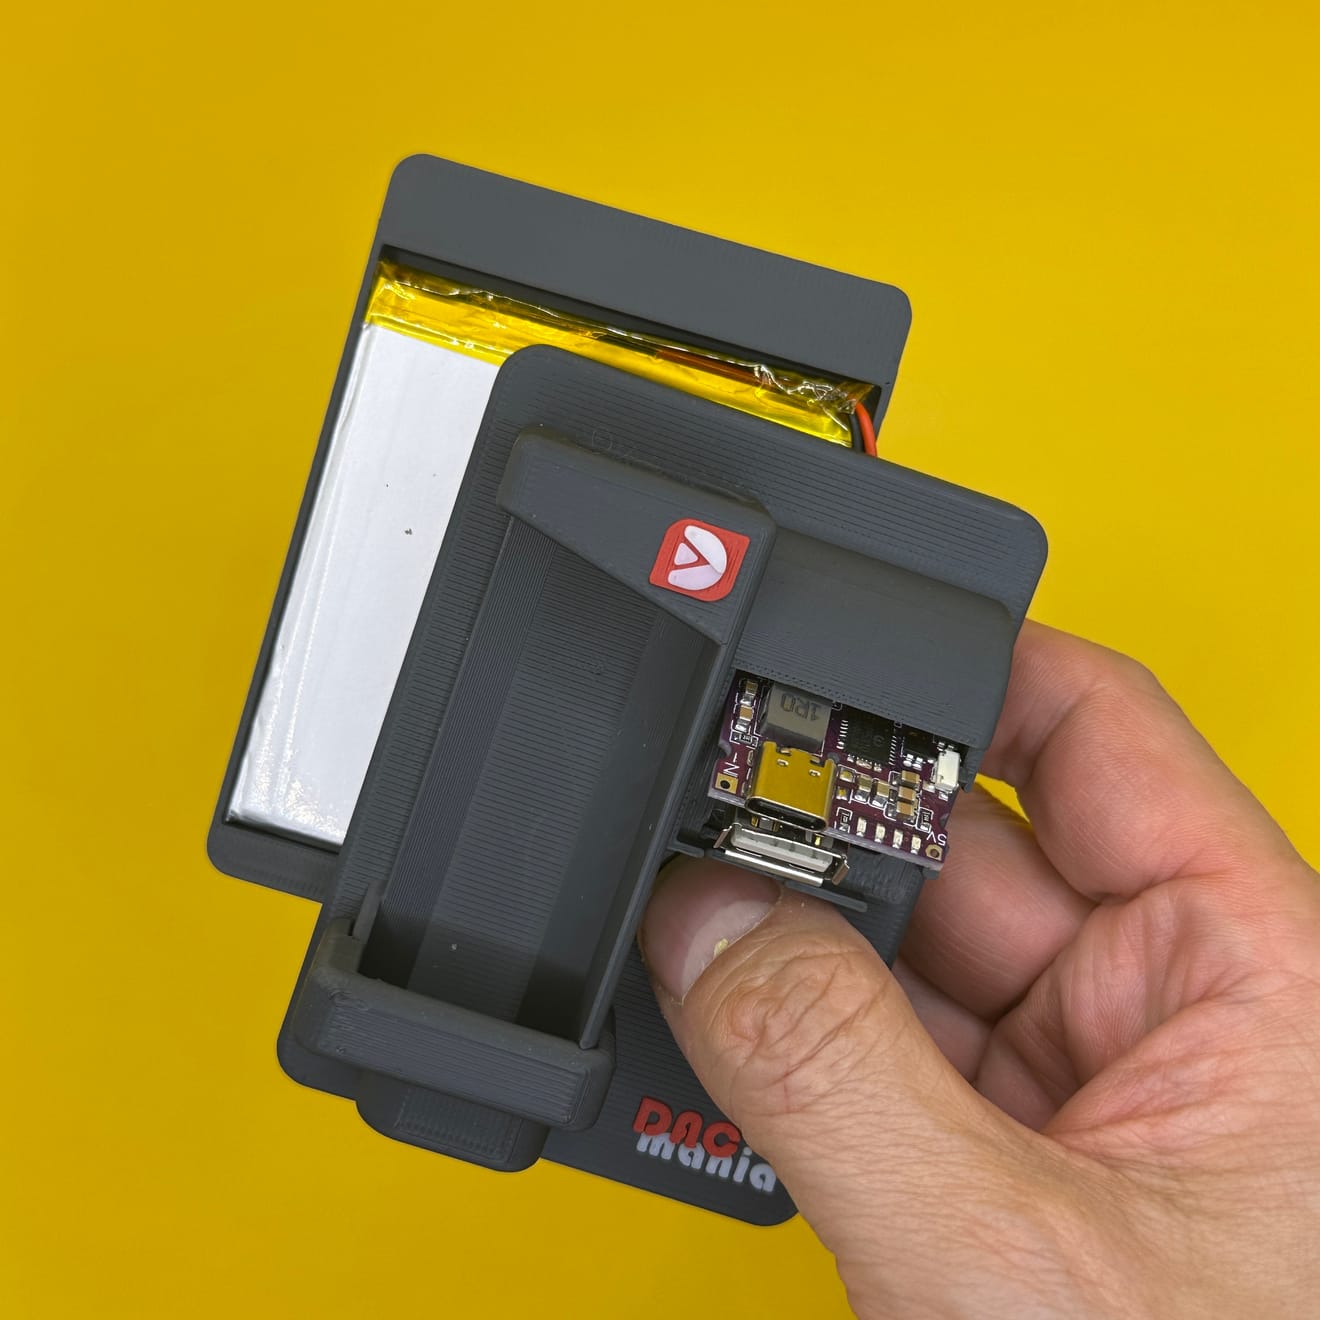
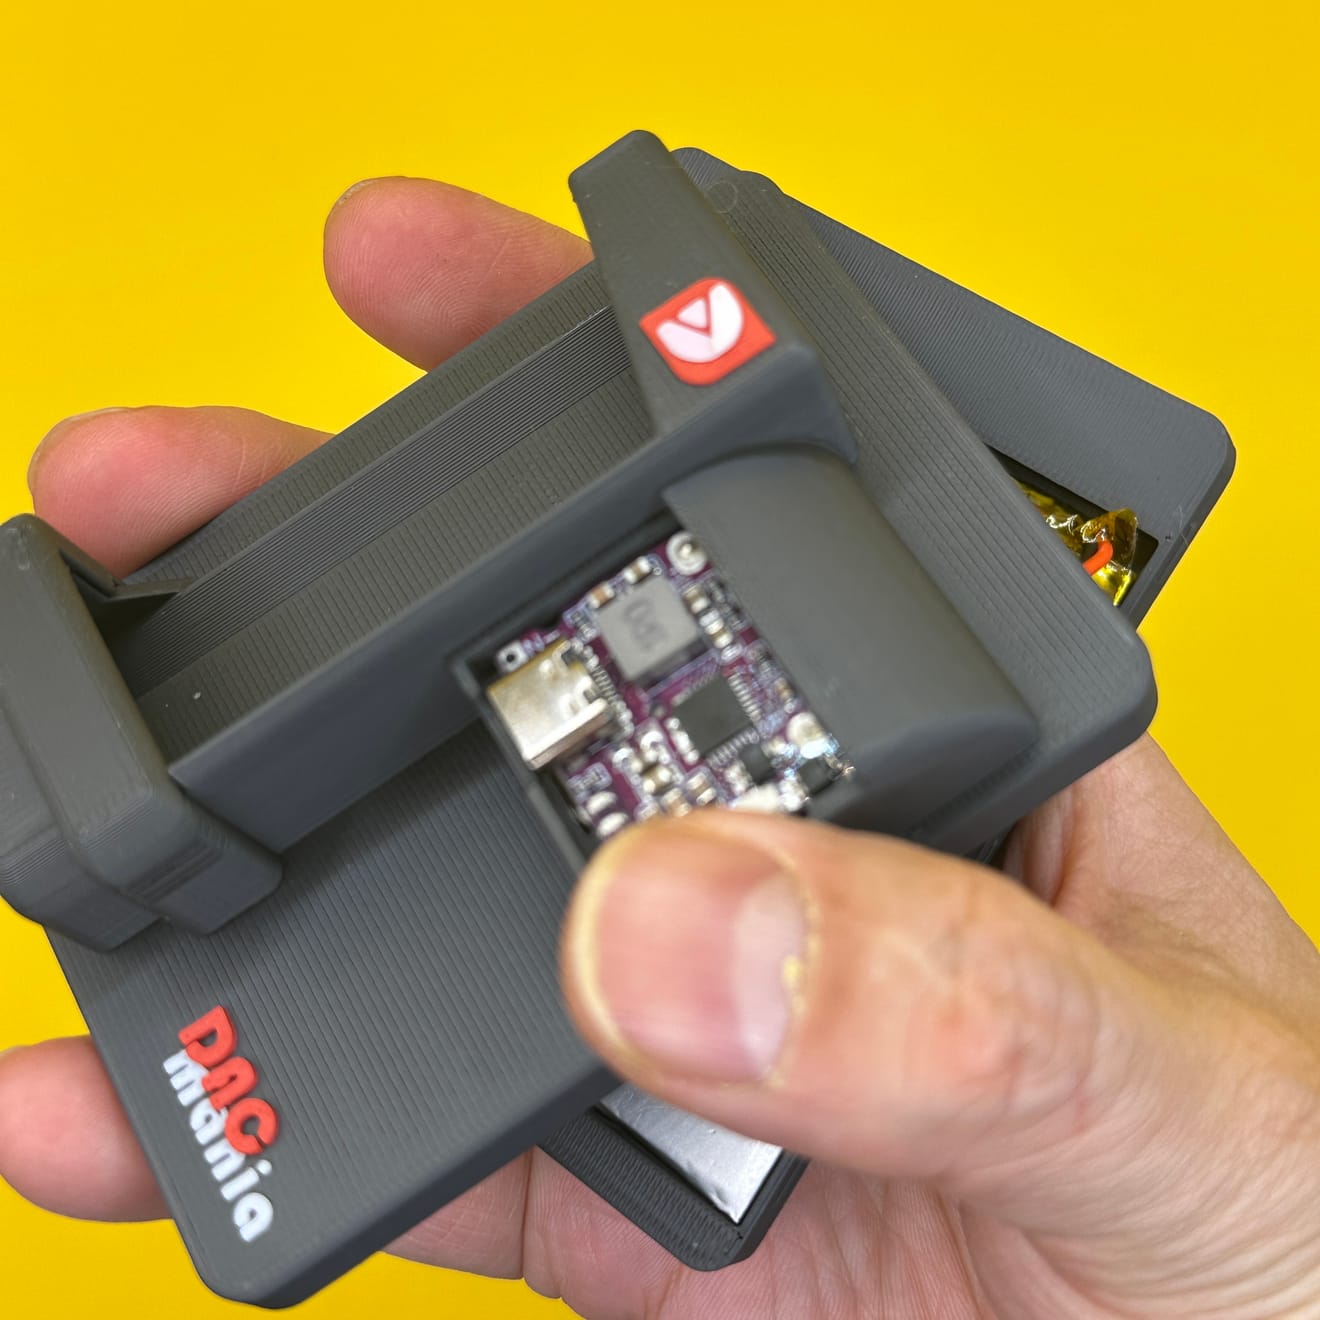
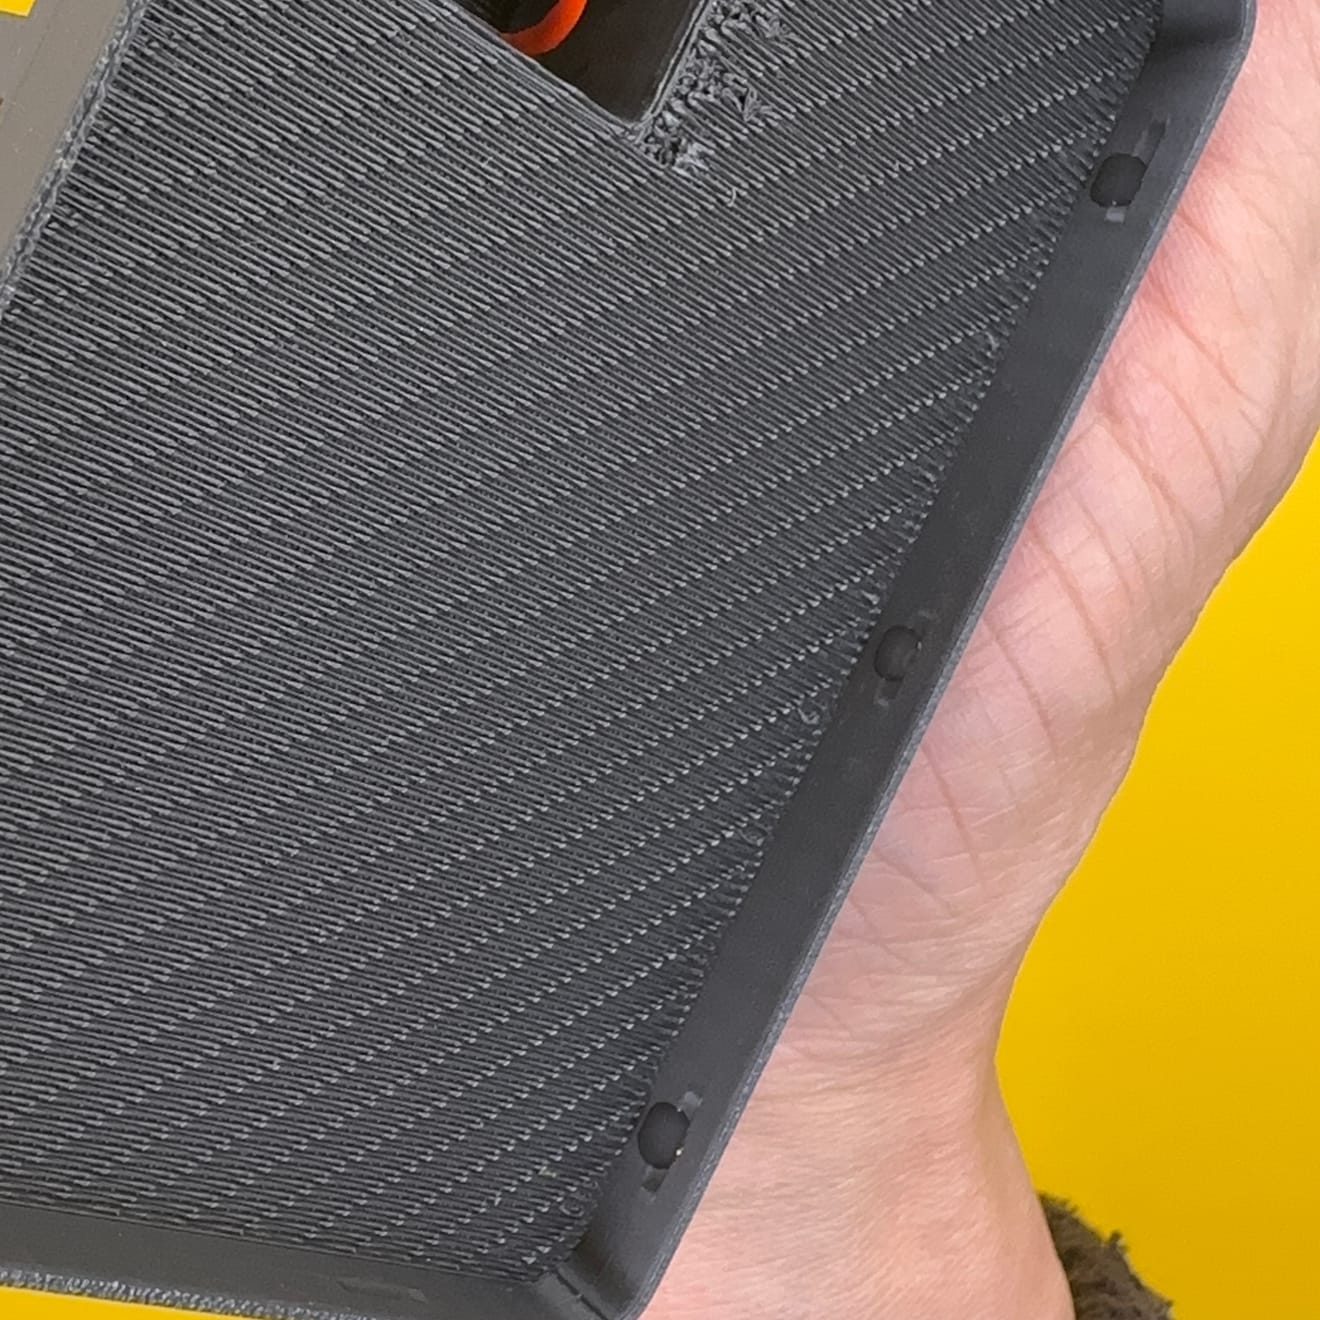
9️⃣ Securing the Charging/Discharging Module
Carefully insert the module inside the case, ensuring the soldered wires do not disconnect.
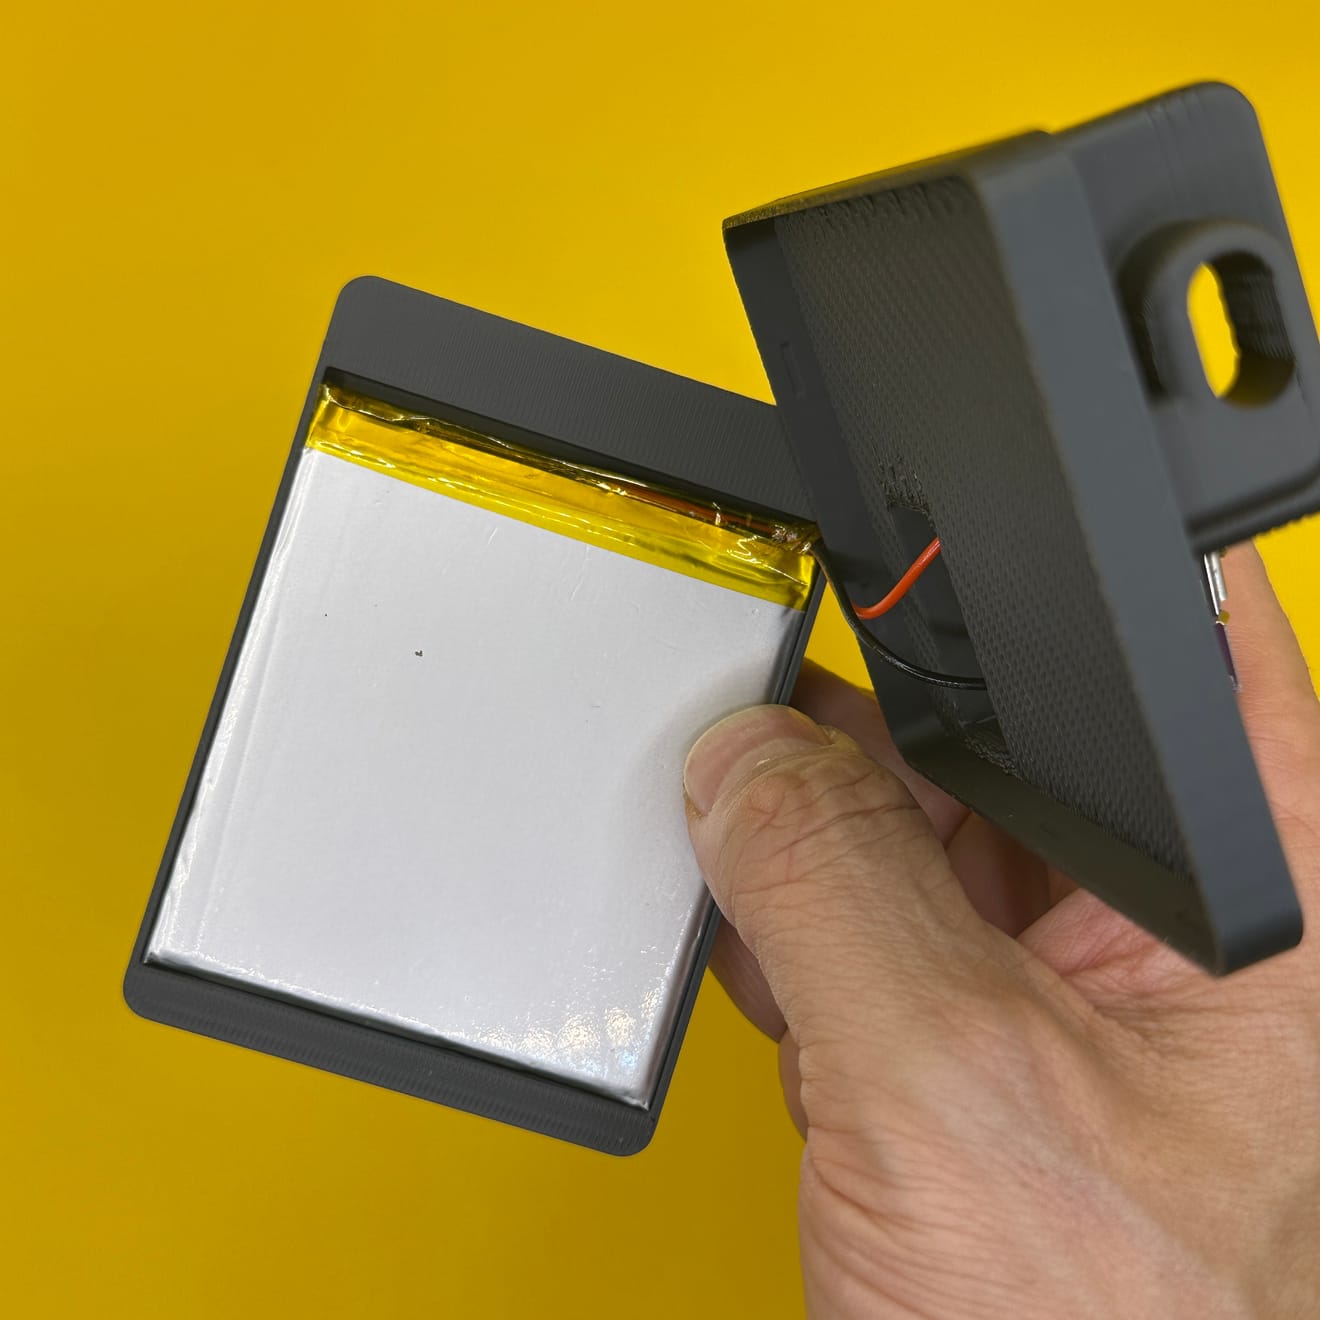
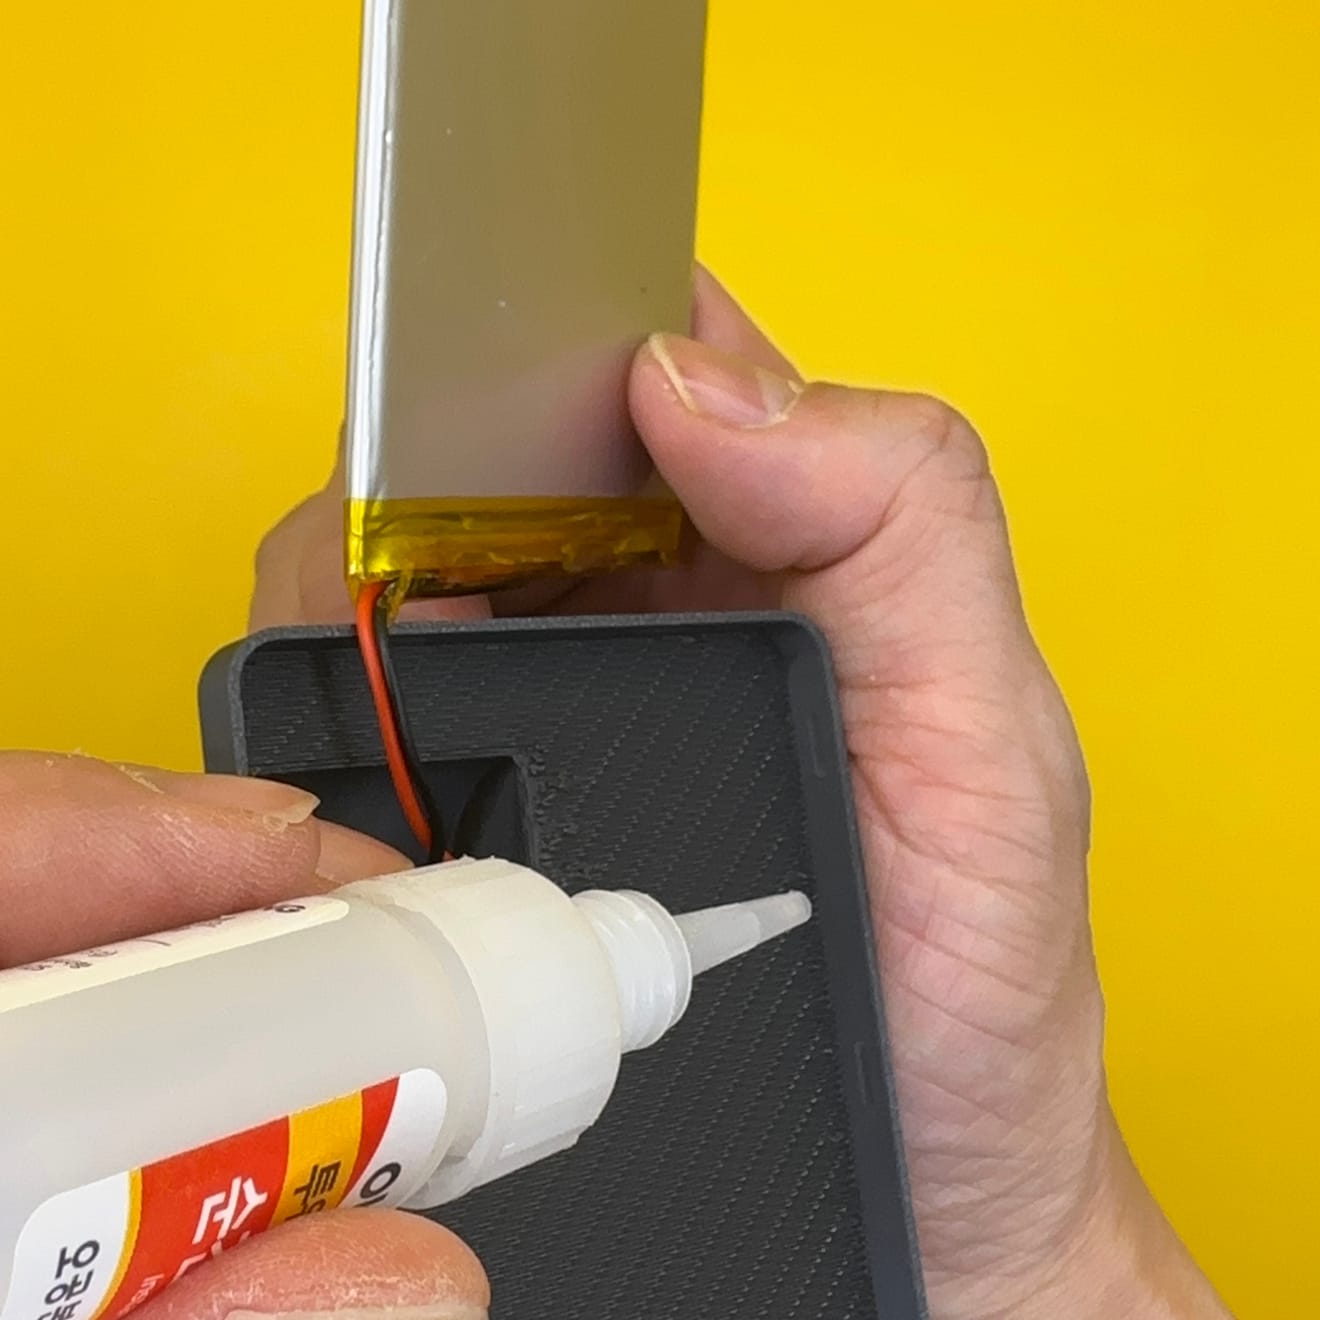
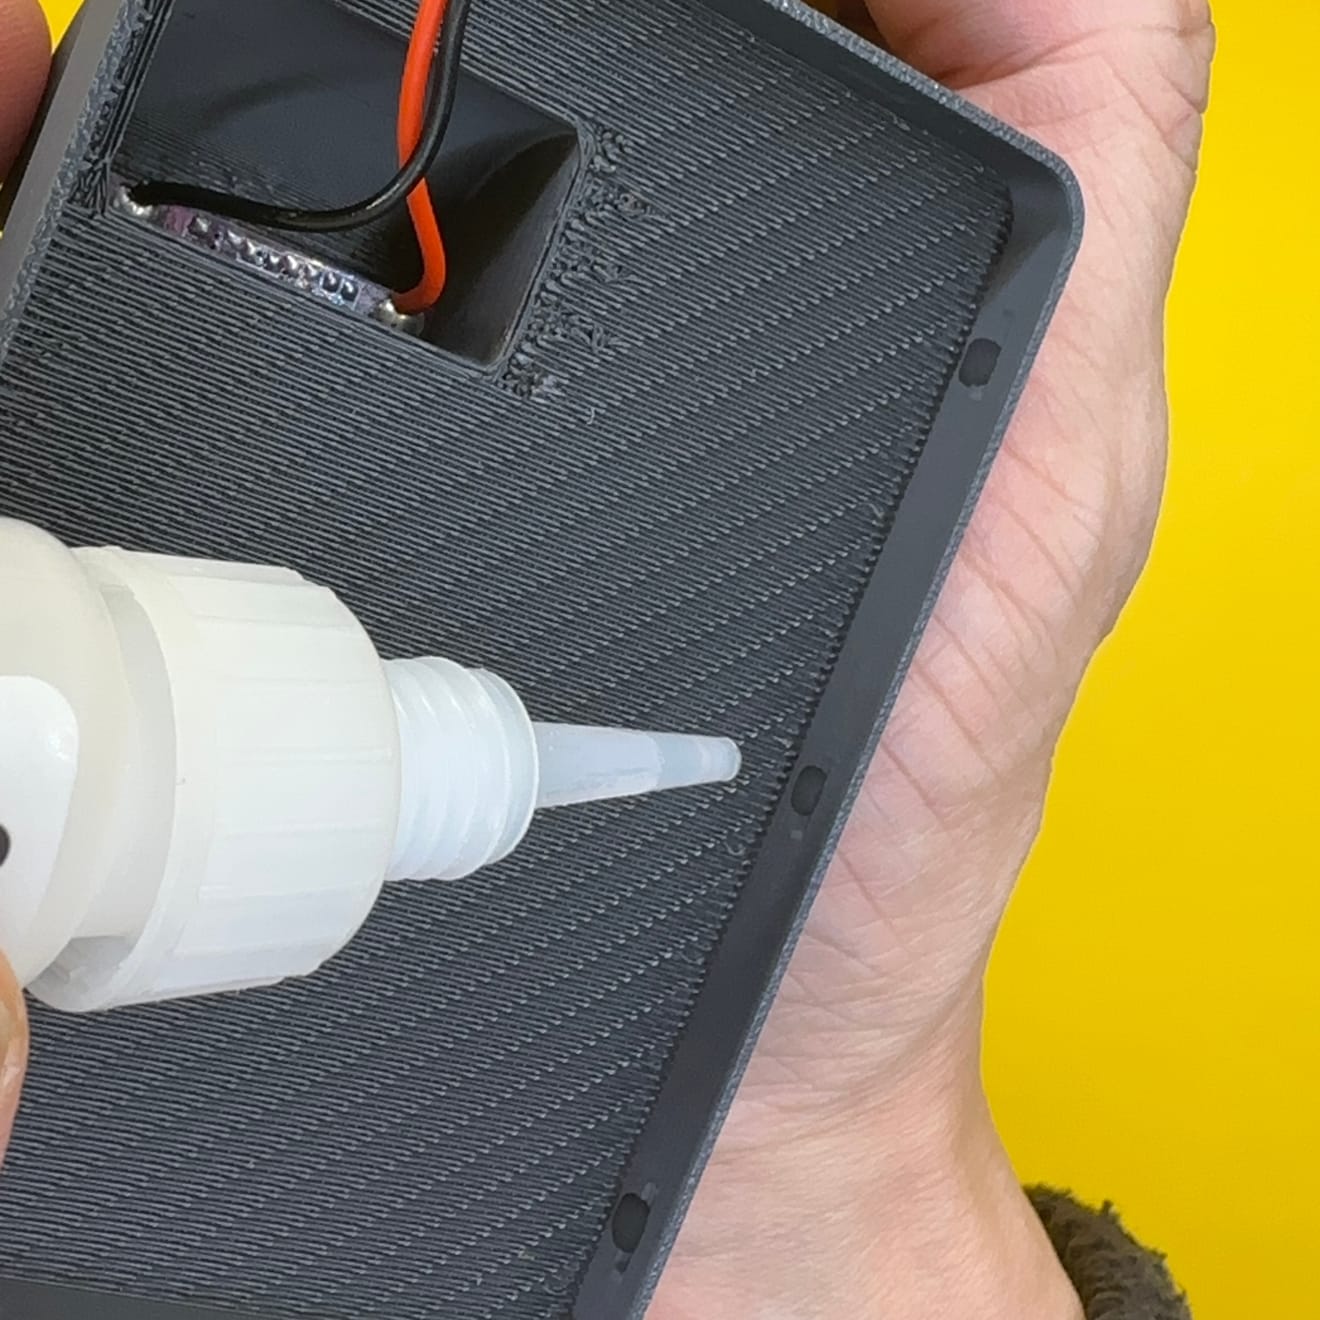
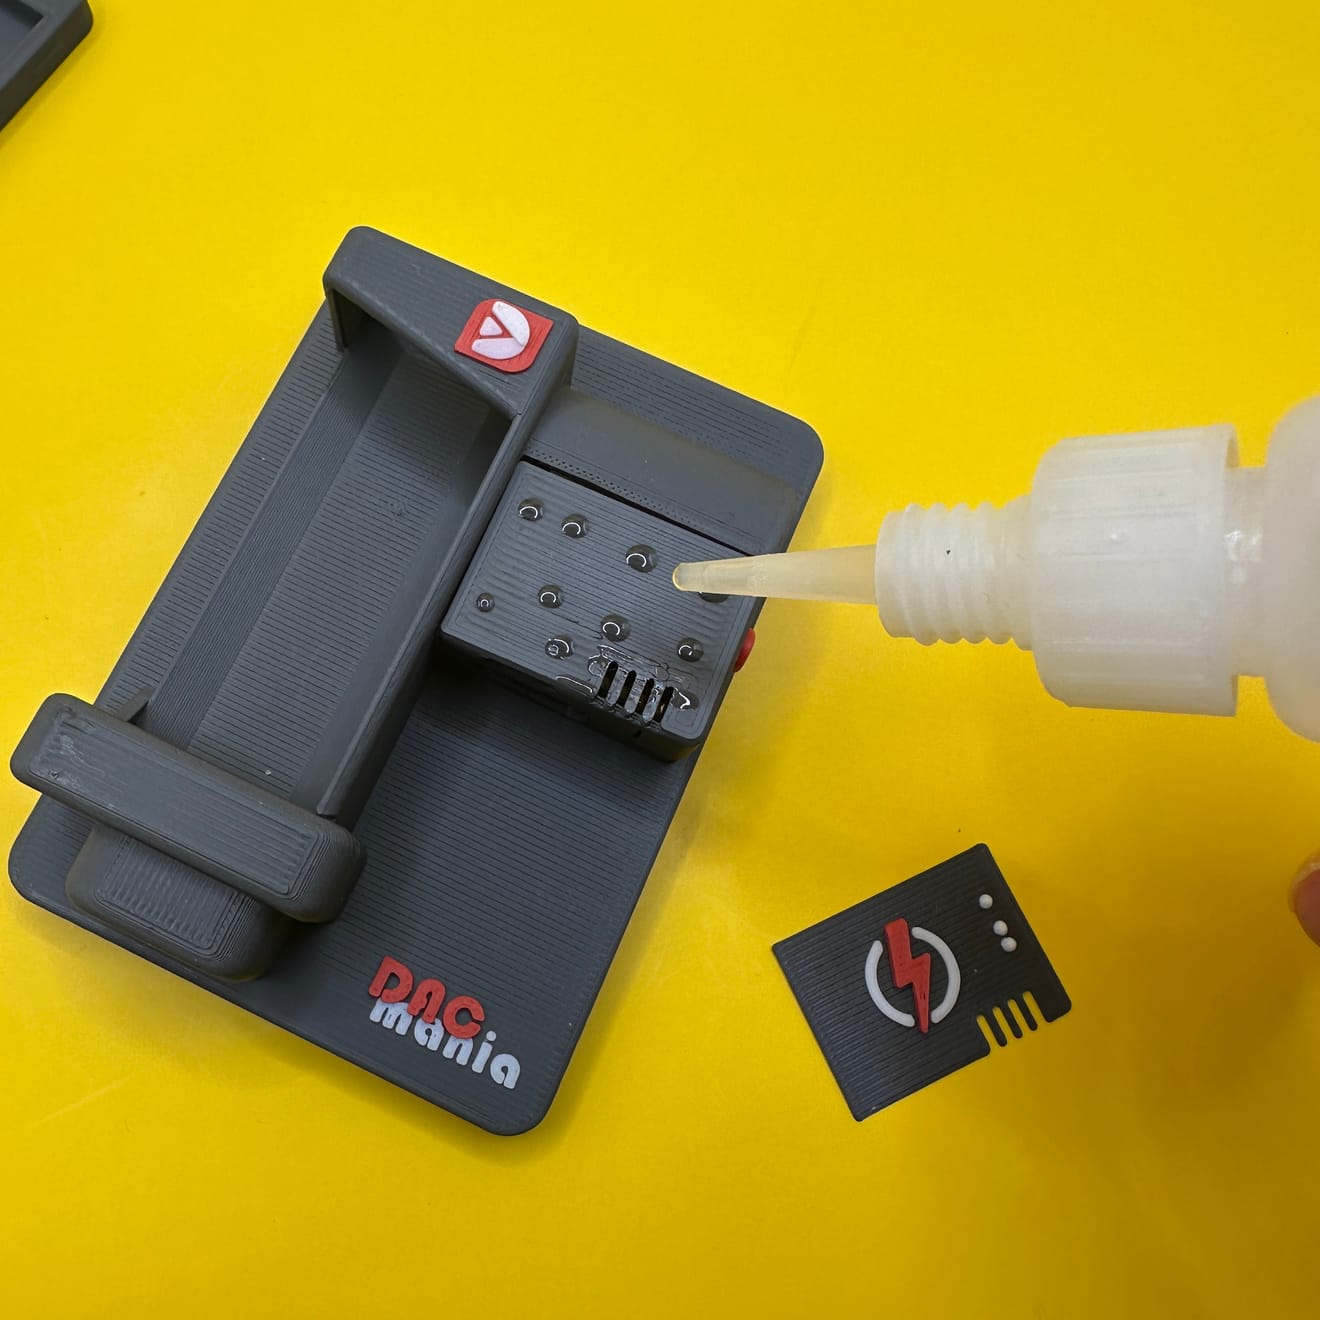
🔟 Attaching the MagSafe Ring & Applying Adhesive
Before attaching the bottom plate, apply a small amount of instant adhesive inside the inner groove.
⚠️ Caution:
Avoid applying adhesive to the exterior, as it may create an untidy appearance.
1️⃣1️⃣ Attaching the Bottom Plate
Carefully align and press the bottom plate in place while the adhesive dries.
💡 (3D-printed parts can break under excessive force, so handle them with care.)
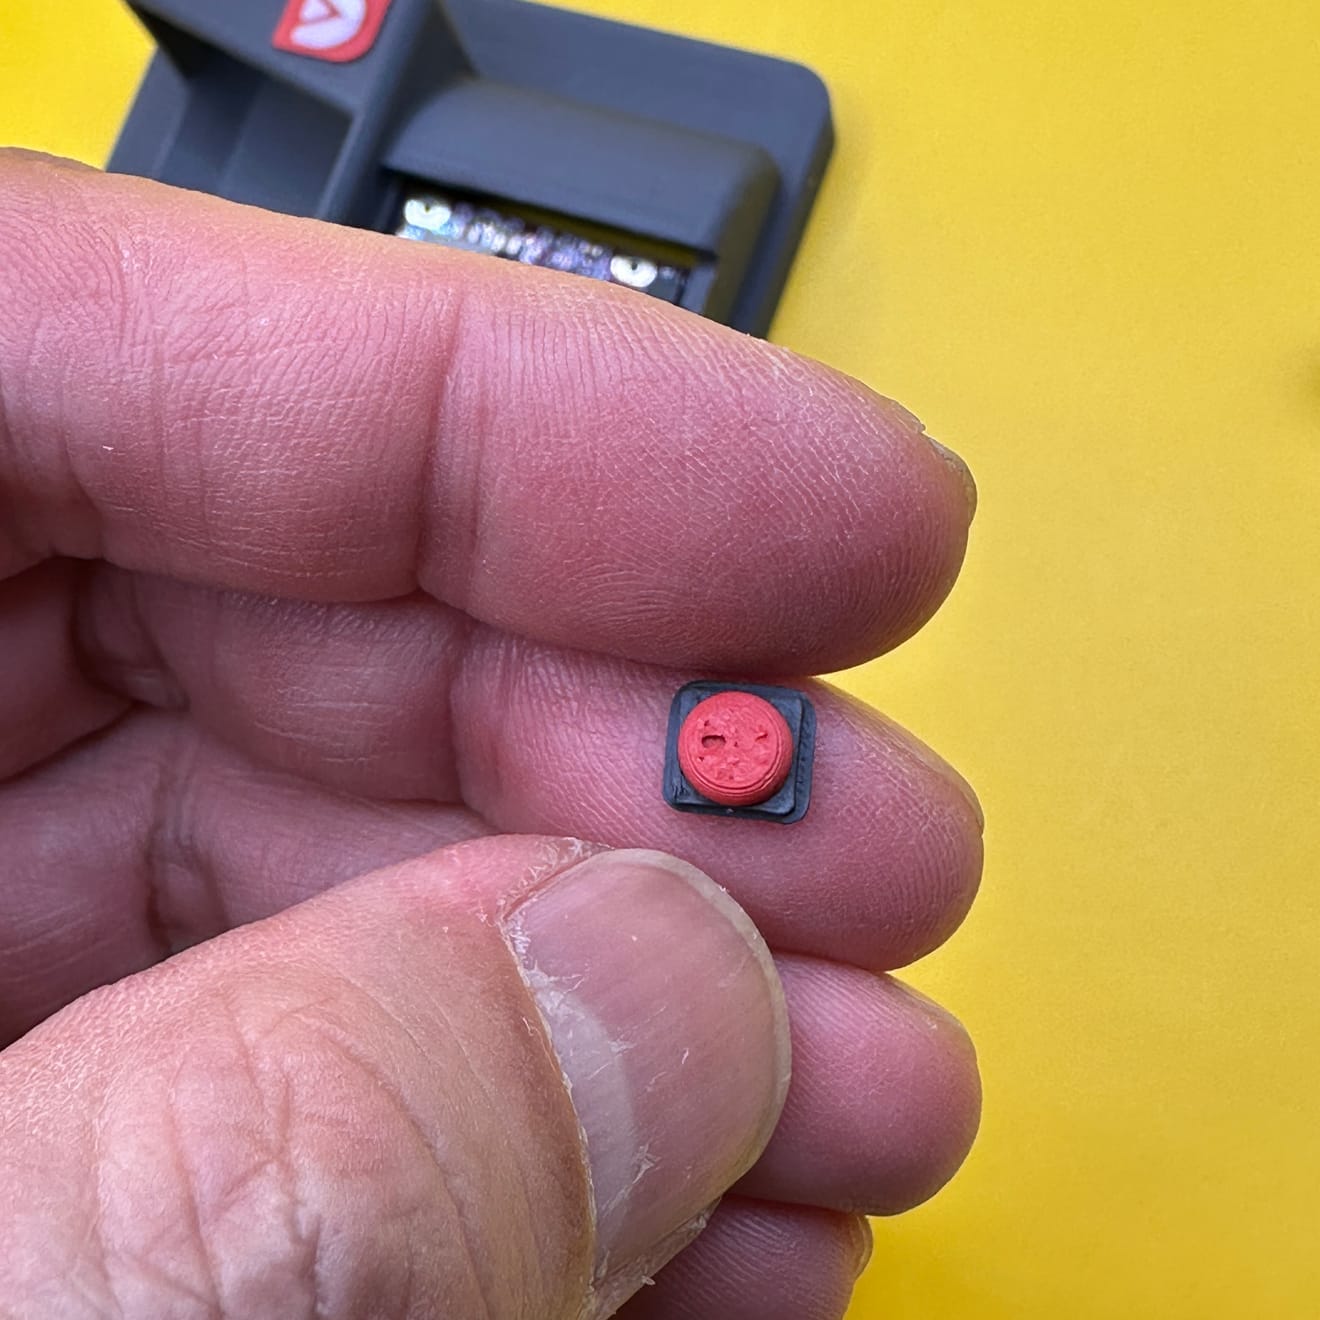
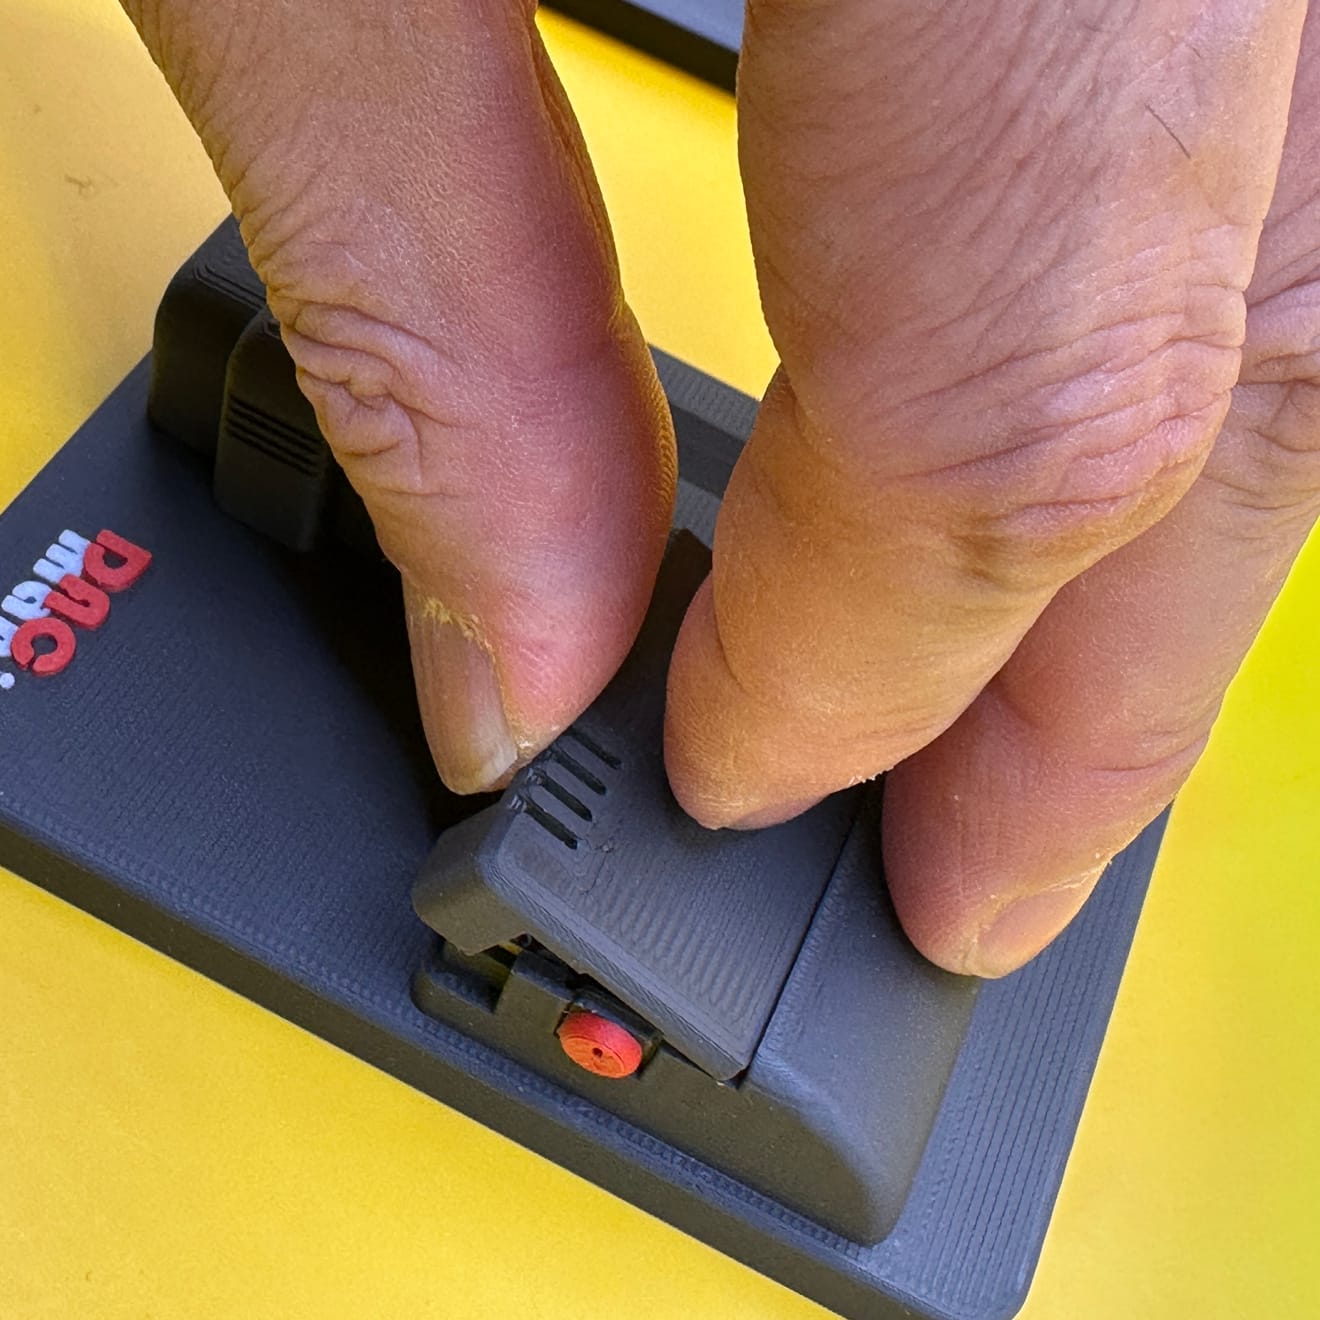
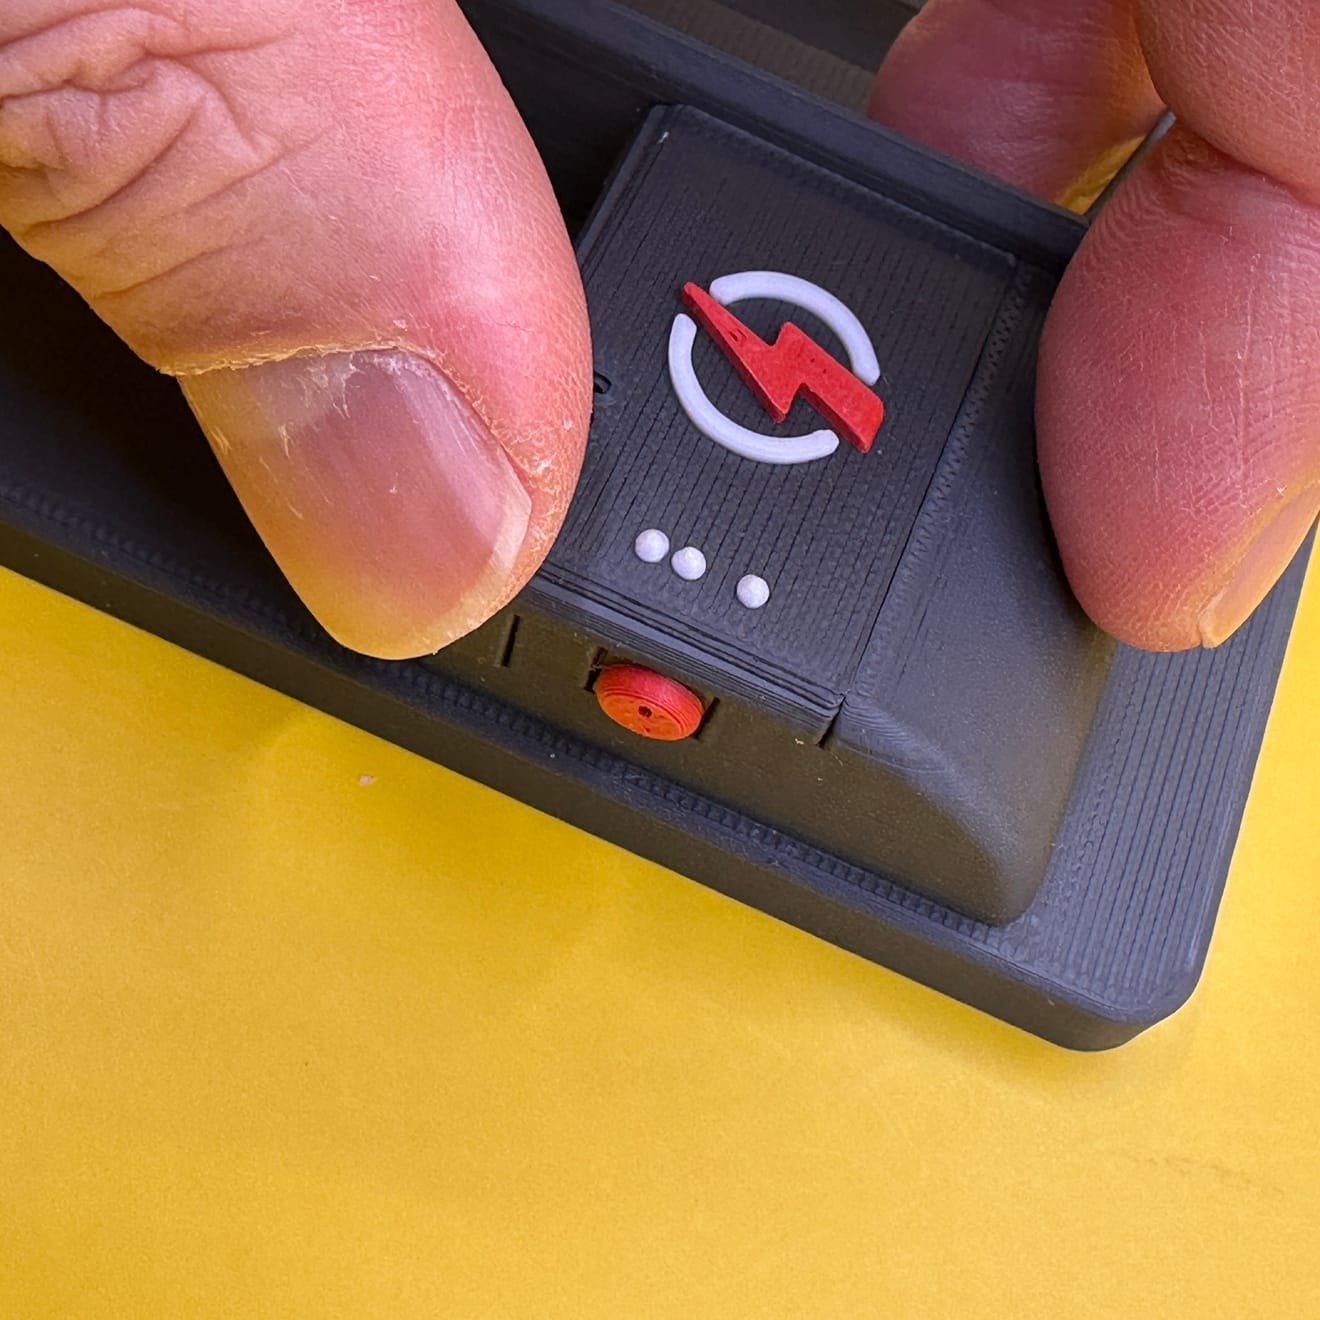
1️⃣2️⃣ Installing the Button (Important Step)
When installing the button, make sure the red groove is facing upwards.
1️⃣3️⃣ Assembling the Middle Cover & Top Panel
Assemble the middle cover first, then temporarily place the top panel to find the best alignment.
⚠️ Check Before Final Assembly:
Ensure the side button functions properly before applying adhesive.
If adhesive touches the button area, it may get stuck.
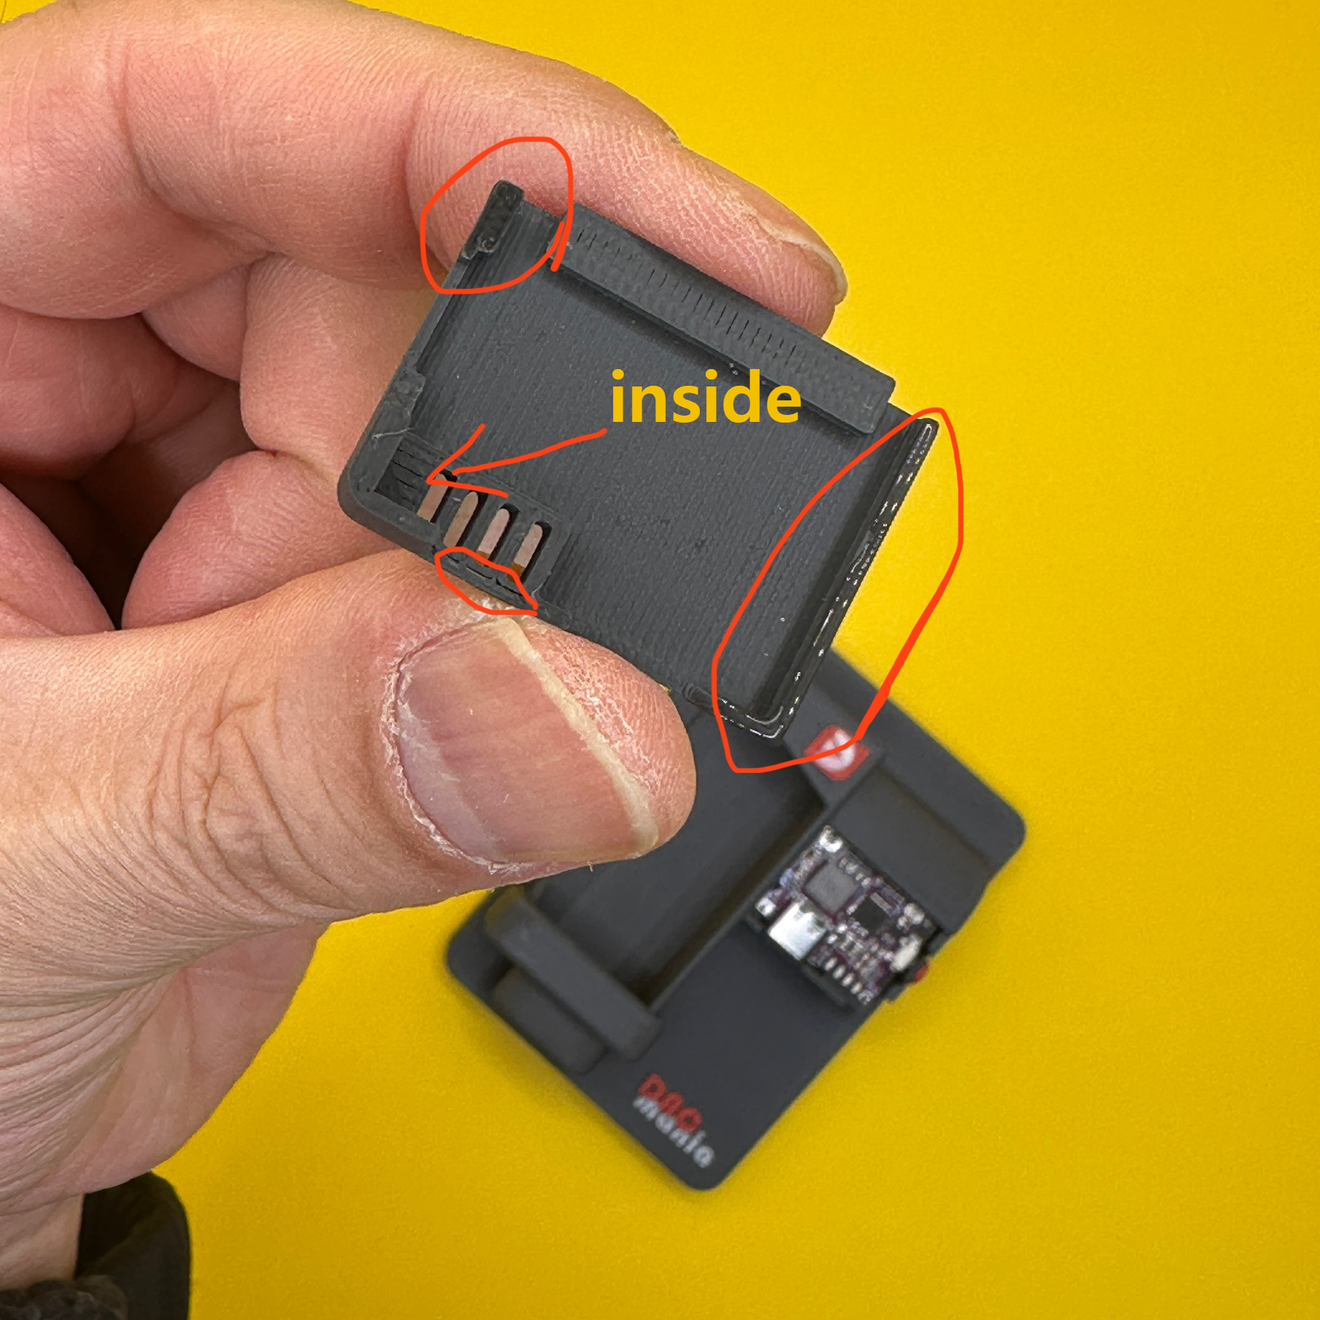
1️⃣4️⃣ Final Adhesive Application
Apply a small amount of adhesive only to the red-marked areas.
💡 (Excessive adhesive can make removal difficult!)
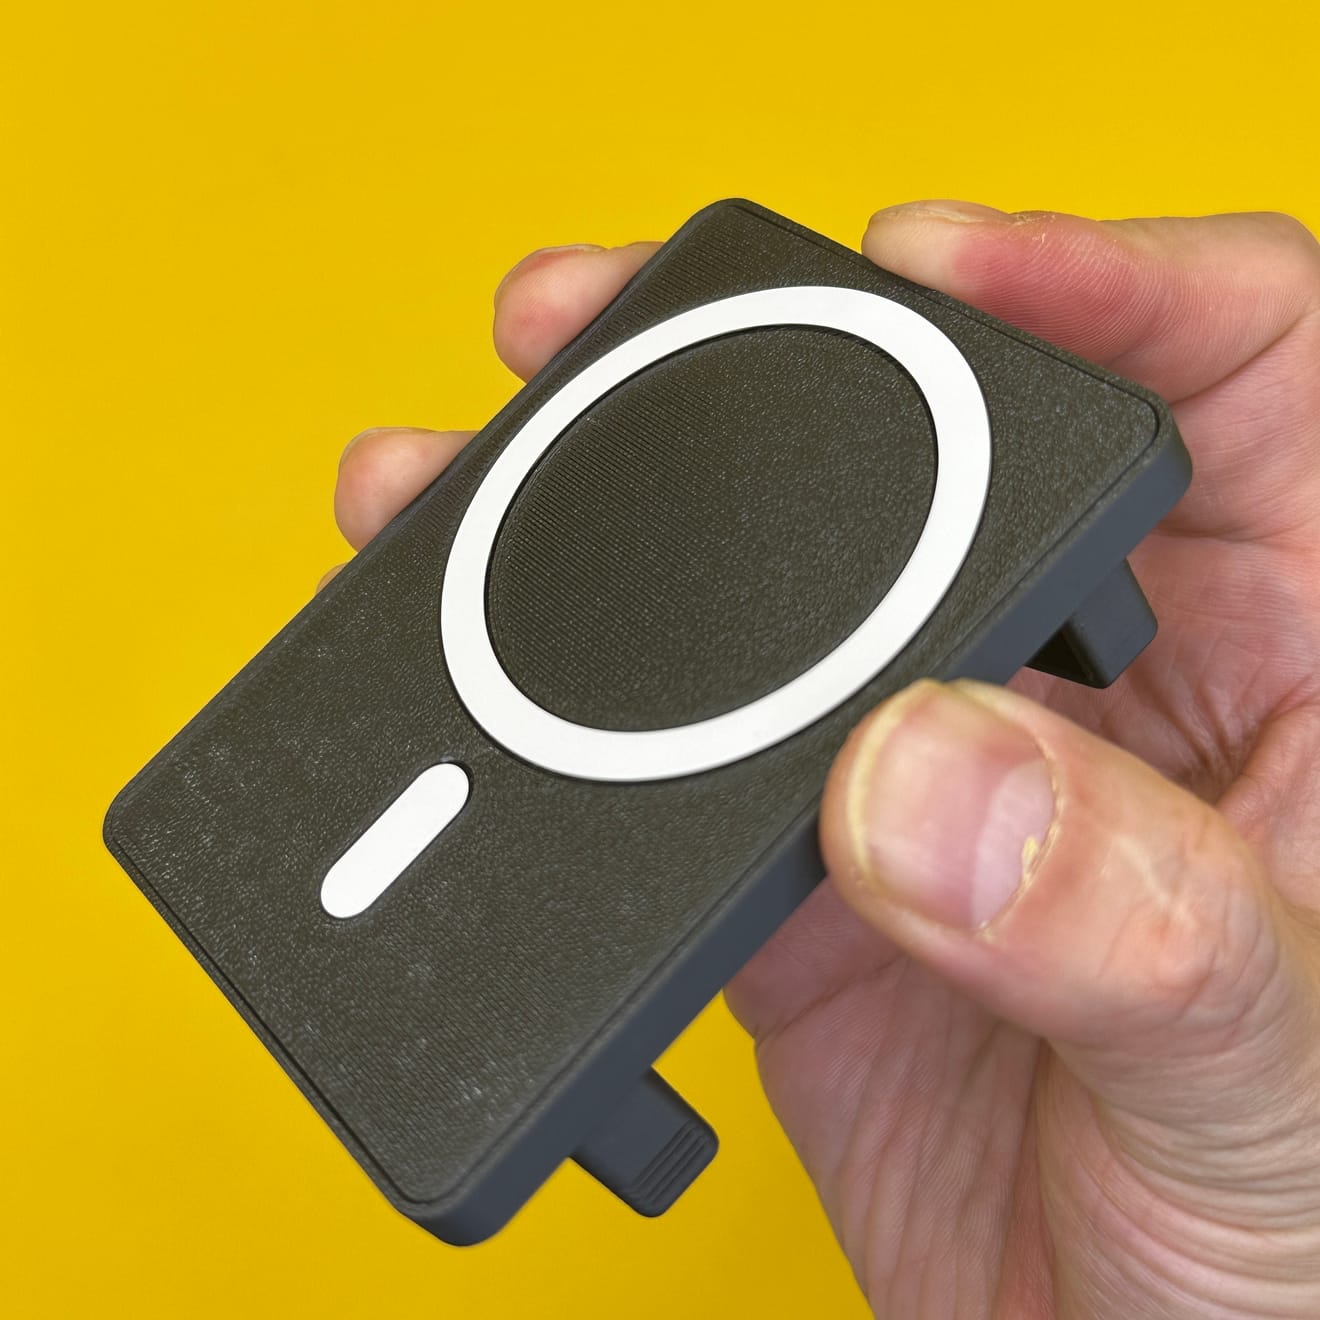
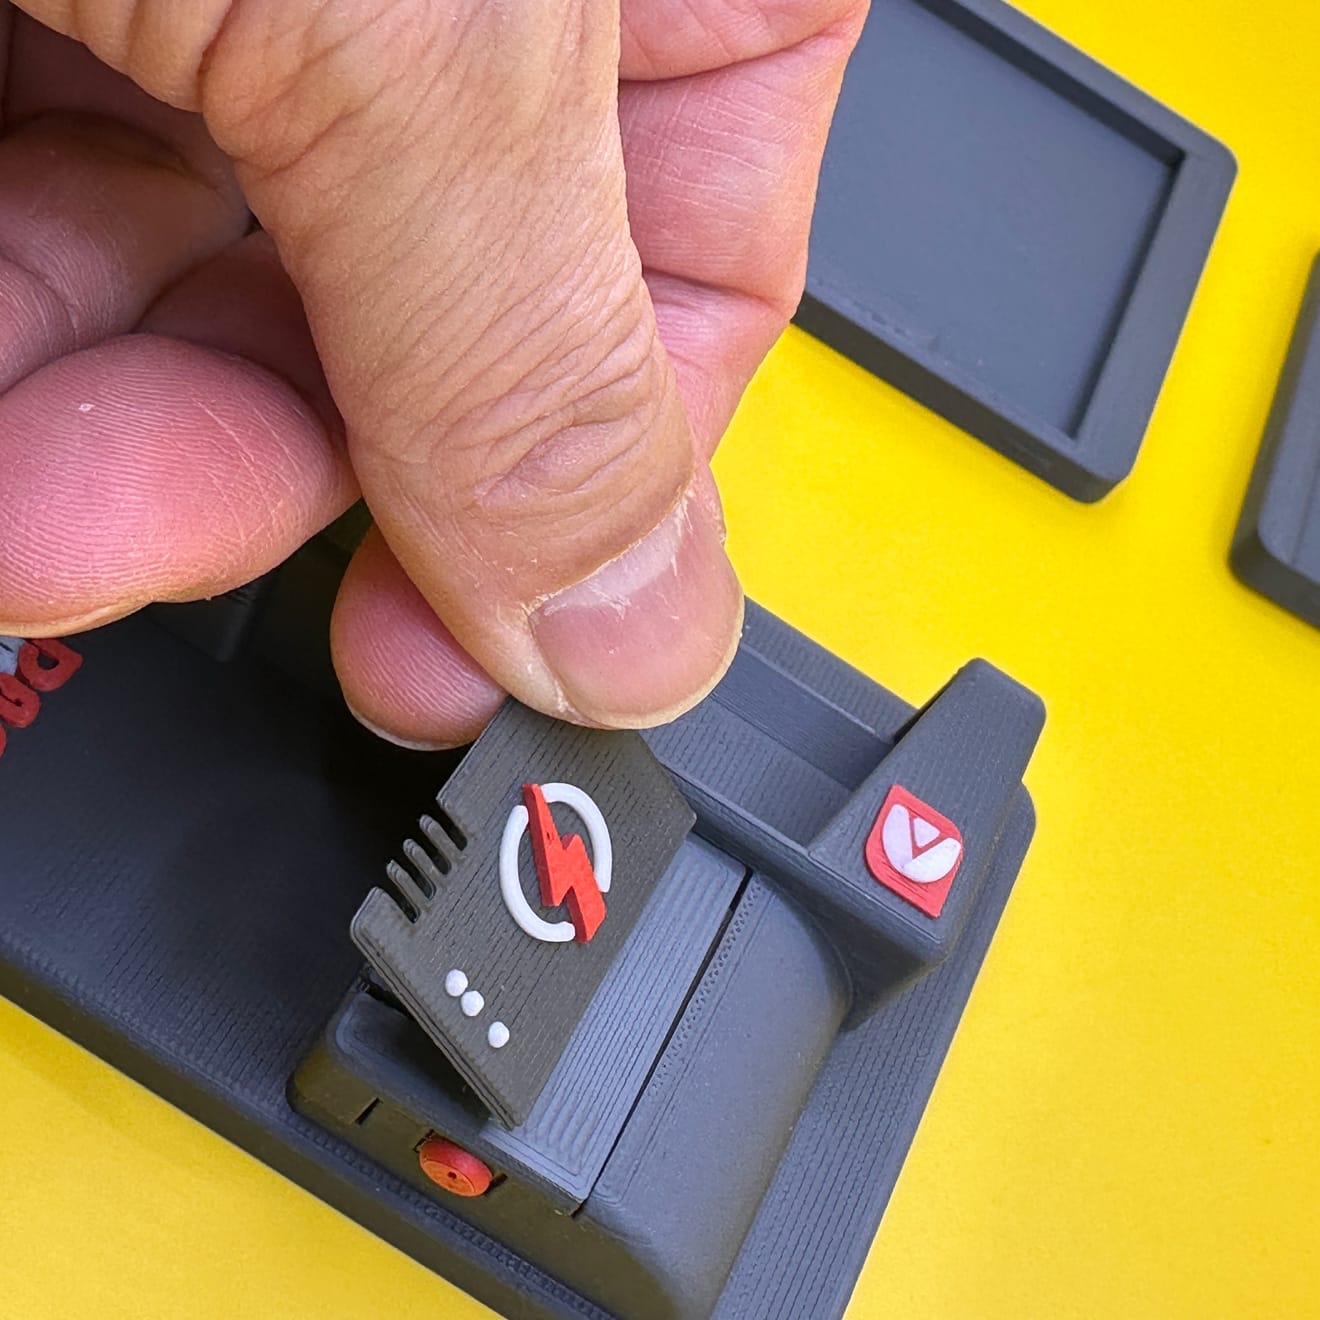
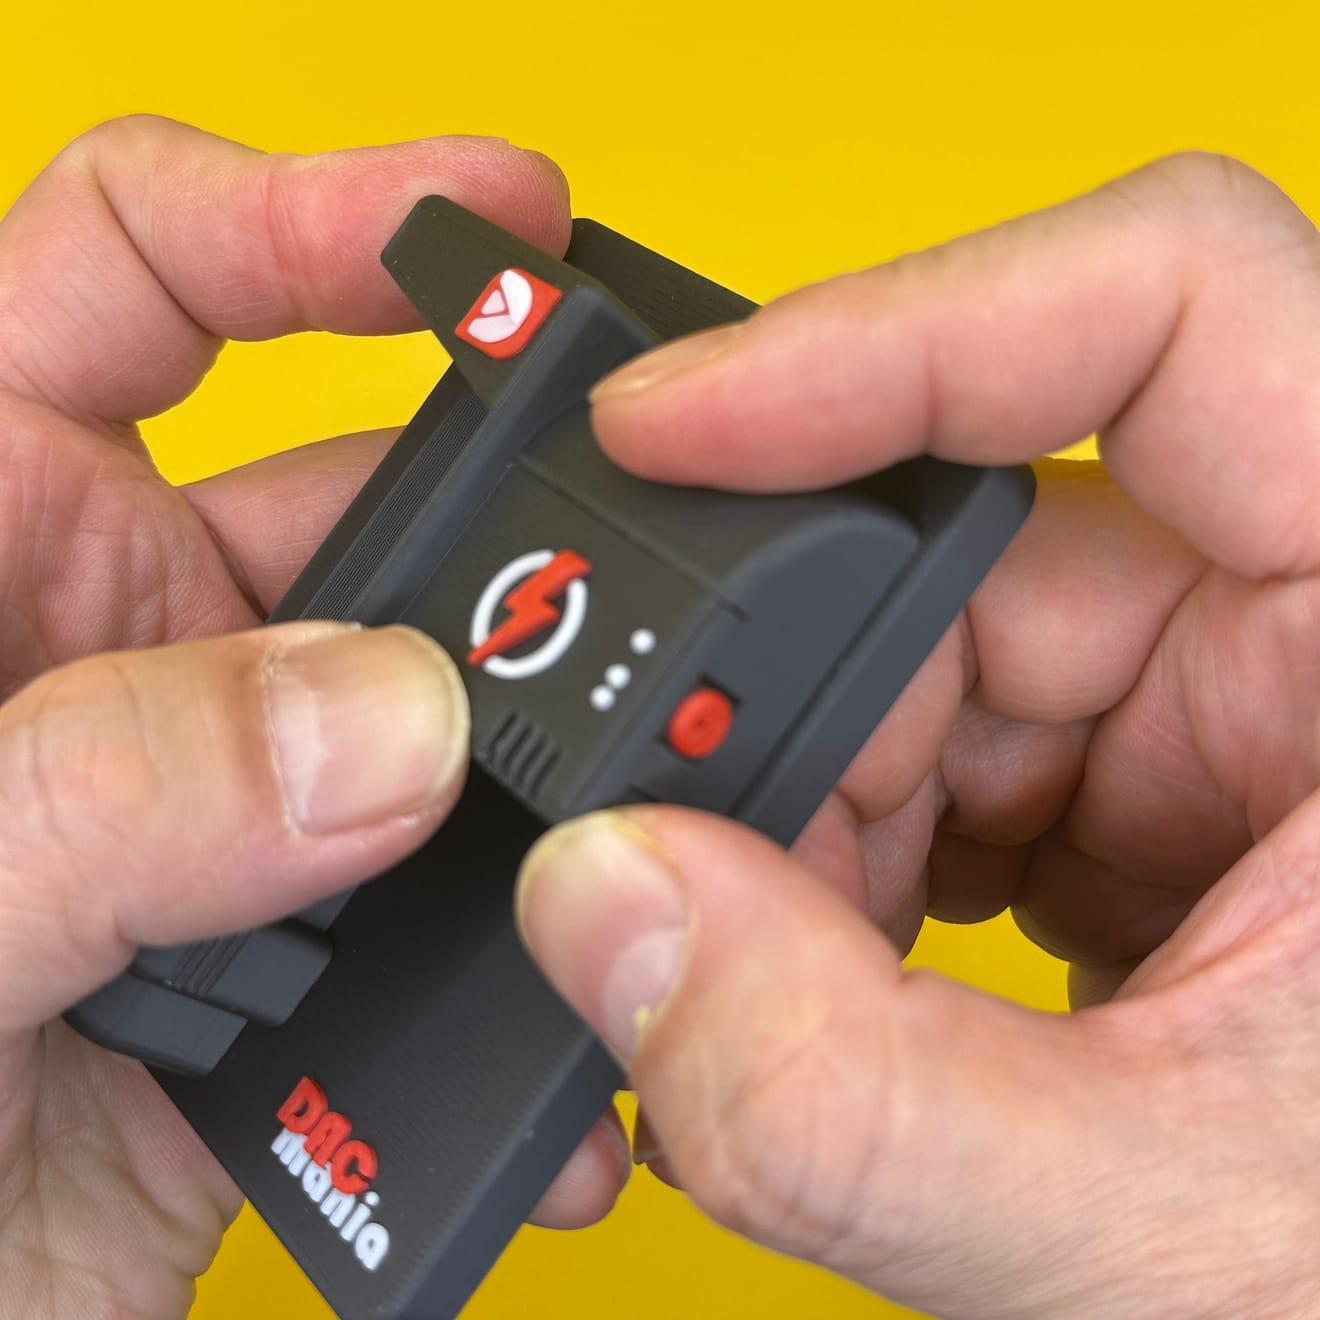
1️⃣5️⃣ Attaching the Top Panel & Finishing
Secure the top panel with the lightning logo, completing the assembly.
Be mindful of excessive adhesive, and keep a tissue nearby if needed.
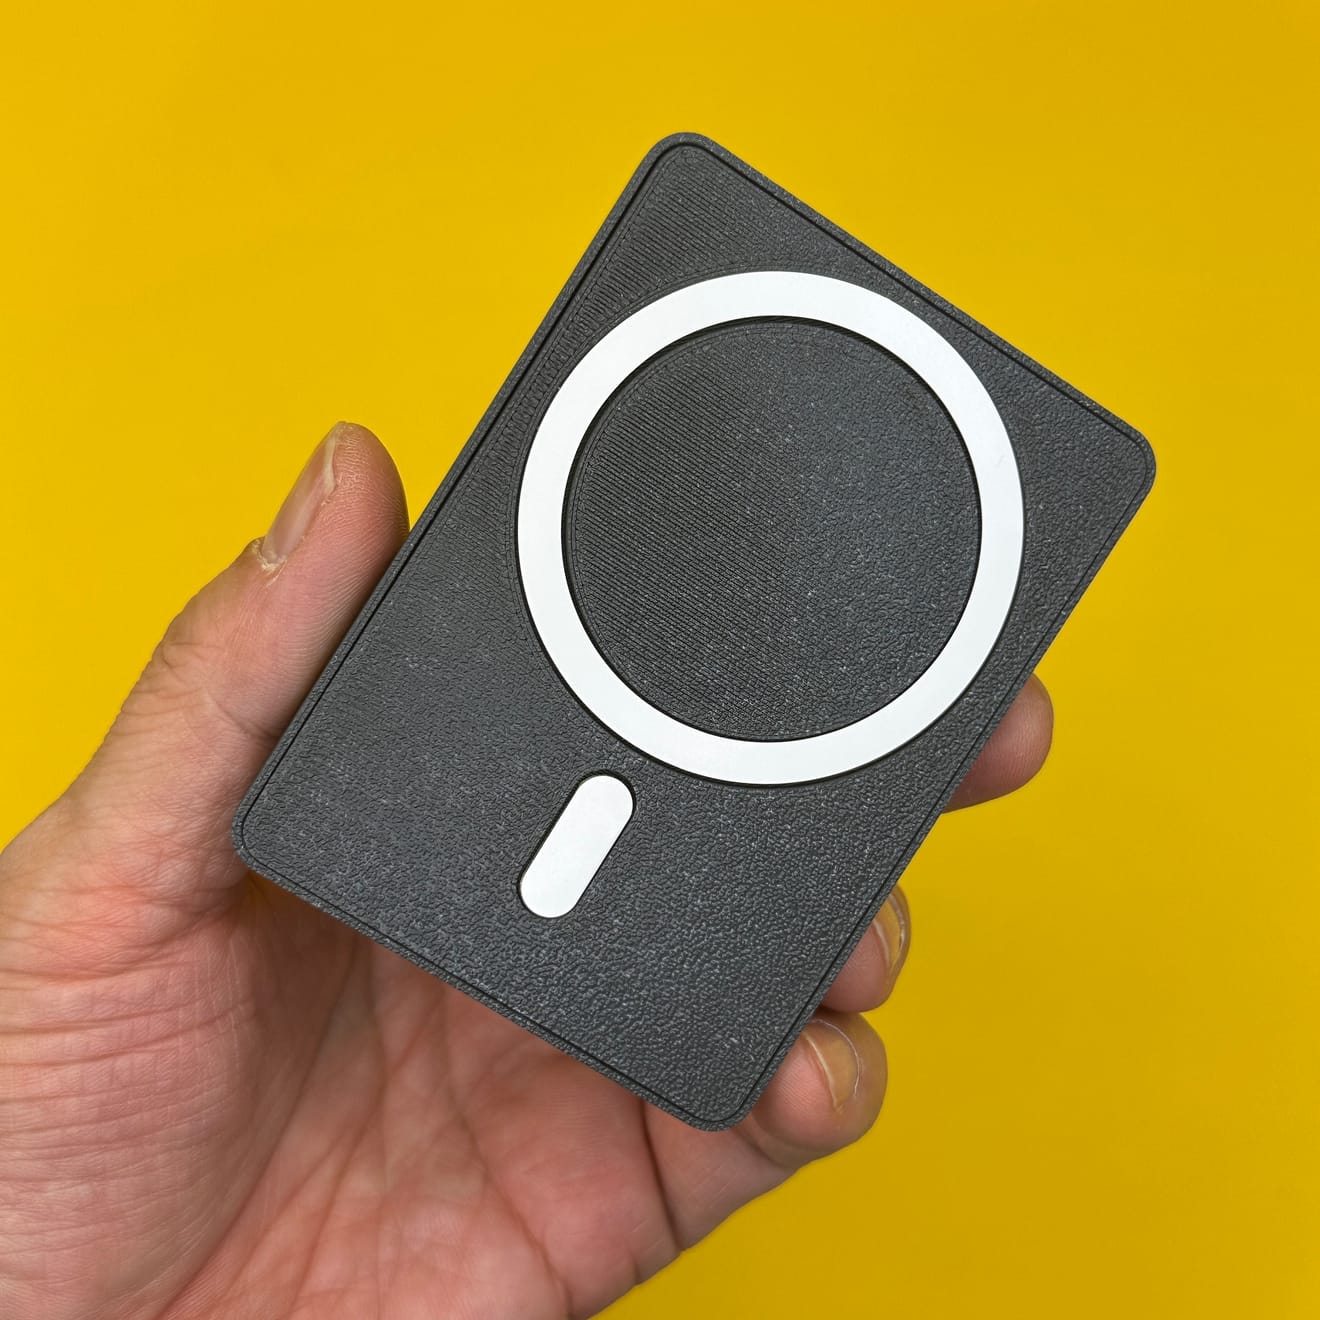
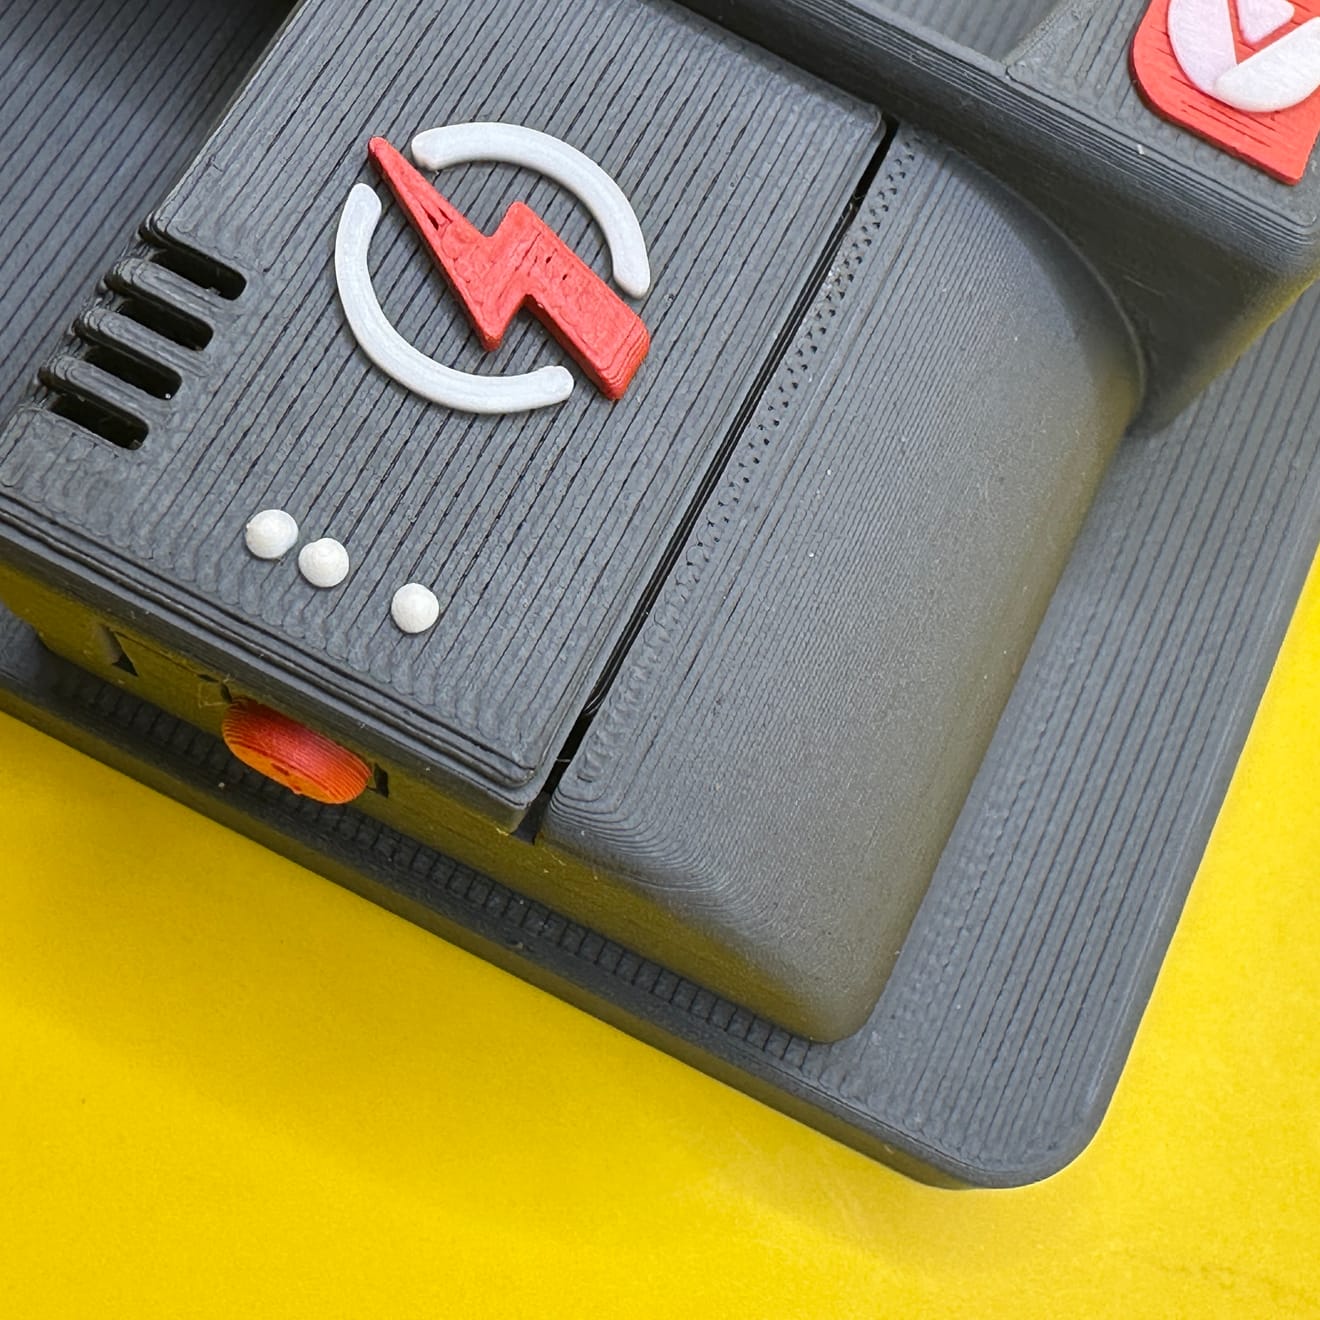
1️⃣6️⃣ Final Assembly & Testing
Ensure all parts are firmly attached and perform a final functionality test.

🎉 Assembly Complete!
Comments0